The Importance of Surface Prep Before Painting Your Home’s Interior
The Importance of Surface Prep Before Painting Your Home’s Interior
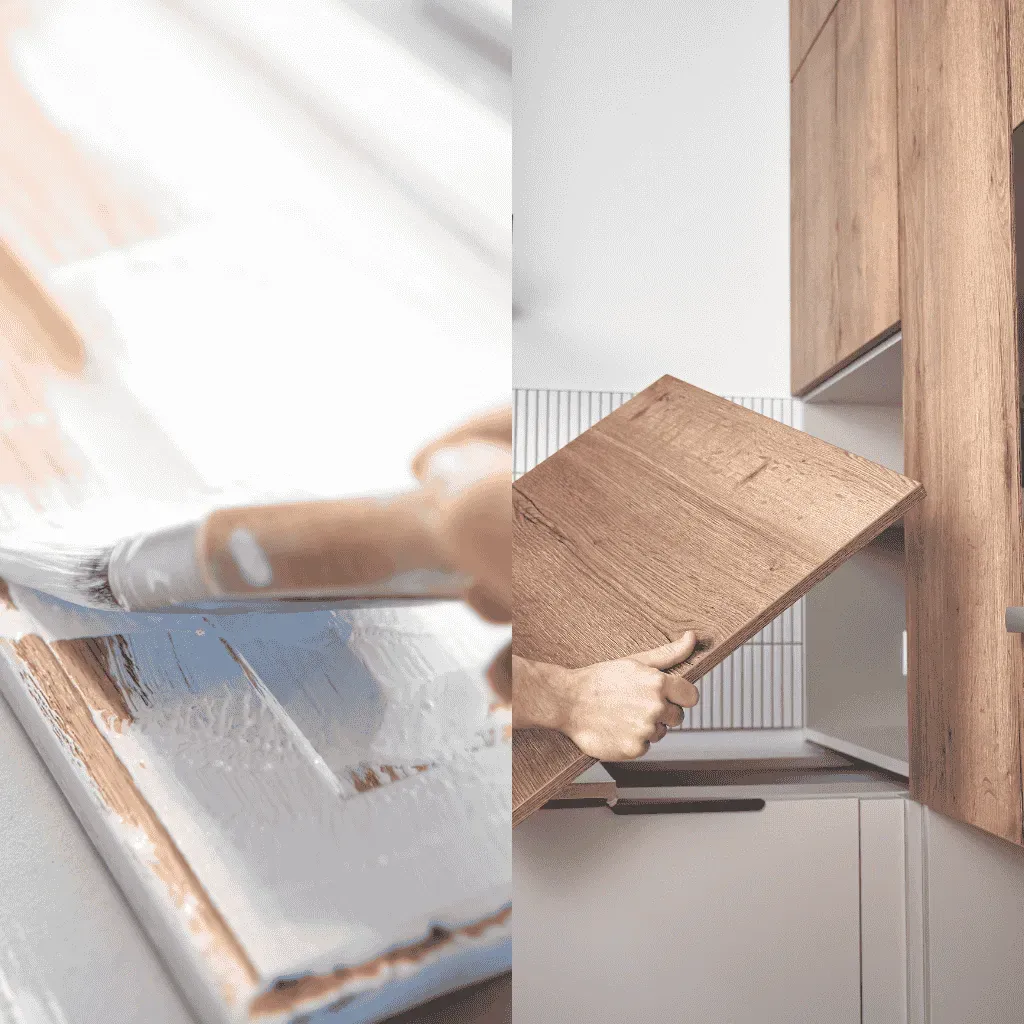
Painting the interior of your home can dramatically transform your space—adding color, freshness, and a sense of renewal. However, the most important part of a successful interior paint job often gets overlooked: surface preparation. Without it, even the highest quality paint can peel, crack, or look uneven.
At Wayne White Painting, we know from decades of experience across Elizabeth City, NC and nearby communities that meticulous surface prep determines whether your paint job lasts for 2 years or 10. In this in-depth blog, we’ll explain exactly what interior surface preparation involves, why it matters so much, how it’s tailored to different surfaces and rooms, and why hiring experienced professionals like our team ensures the best outcome for your investment.
Why Surface Prep Is Critical Before Painting
You might assume that paint is a one-step process—open the can, roll it on, and enjoy. But for professional, long-lasting results, that approach simply doesn't work. Interior surfaces accumulate all sorts of imperfections over time: cracks, nail holes, stains, scuffs, grease, dust, and even mildew. If you try to paint over those, you're essentially sealing in problems and compromising the look and durability of the finish.
Key reasons surface prep is essential:
- Paint adhesion: Clean, sanded, and primed surfaces hold paint better.
- Durability: Properly prepped surfaces resist flaking, peeling, and bubbling.
- Appearance: Smooth walls result in a consistent, professional finish.
- Protection: Prepping allows the painter to spot damage, moisture issues, or underlying problems that need addressing.
- Efficiency: Prepped surfaces reduce the number of coats needed and increase coverage.
Skipping prep may save time upfront but leads to rework and extra cost down the line.
Common Surface Issues in Elizabeth City Homes
Homes in Elizabeth City, Camden, Weeksville, South Mills, and surrounding areas experience specific conditions that make proper surface prep especially important. The combination of humidity, coastal climate, and aging structures means walls are more likely to suffer from moisture damage, cracking, and uneven finishes.
Here are the most common interior surface issues we address:
- Water stains and drywall discoloration from roof or pipe leaks
- Peeling latex over oil-based paint from past renovations
- Hairline and structural cracks due to settling or old plaster
- Mold and mildew growth in bathrooms, kitchens, and laundry areas
- Grease build-up in kitchens that inhibits paint adhesion
- High-gloss surfaces that resist new coats without sanding or priming
In many cases, these issues aren't visible until after old paint is removed or walls are cleaned. That’s why we always start with a thorough inspection.
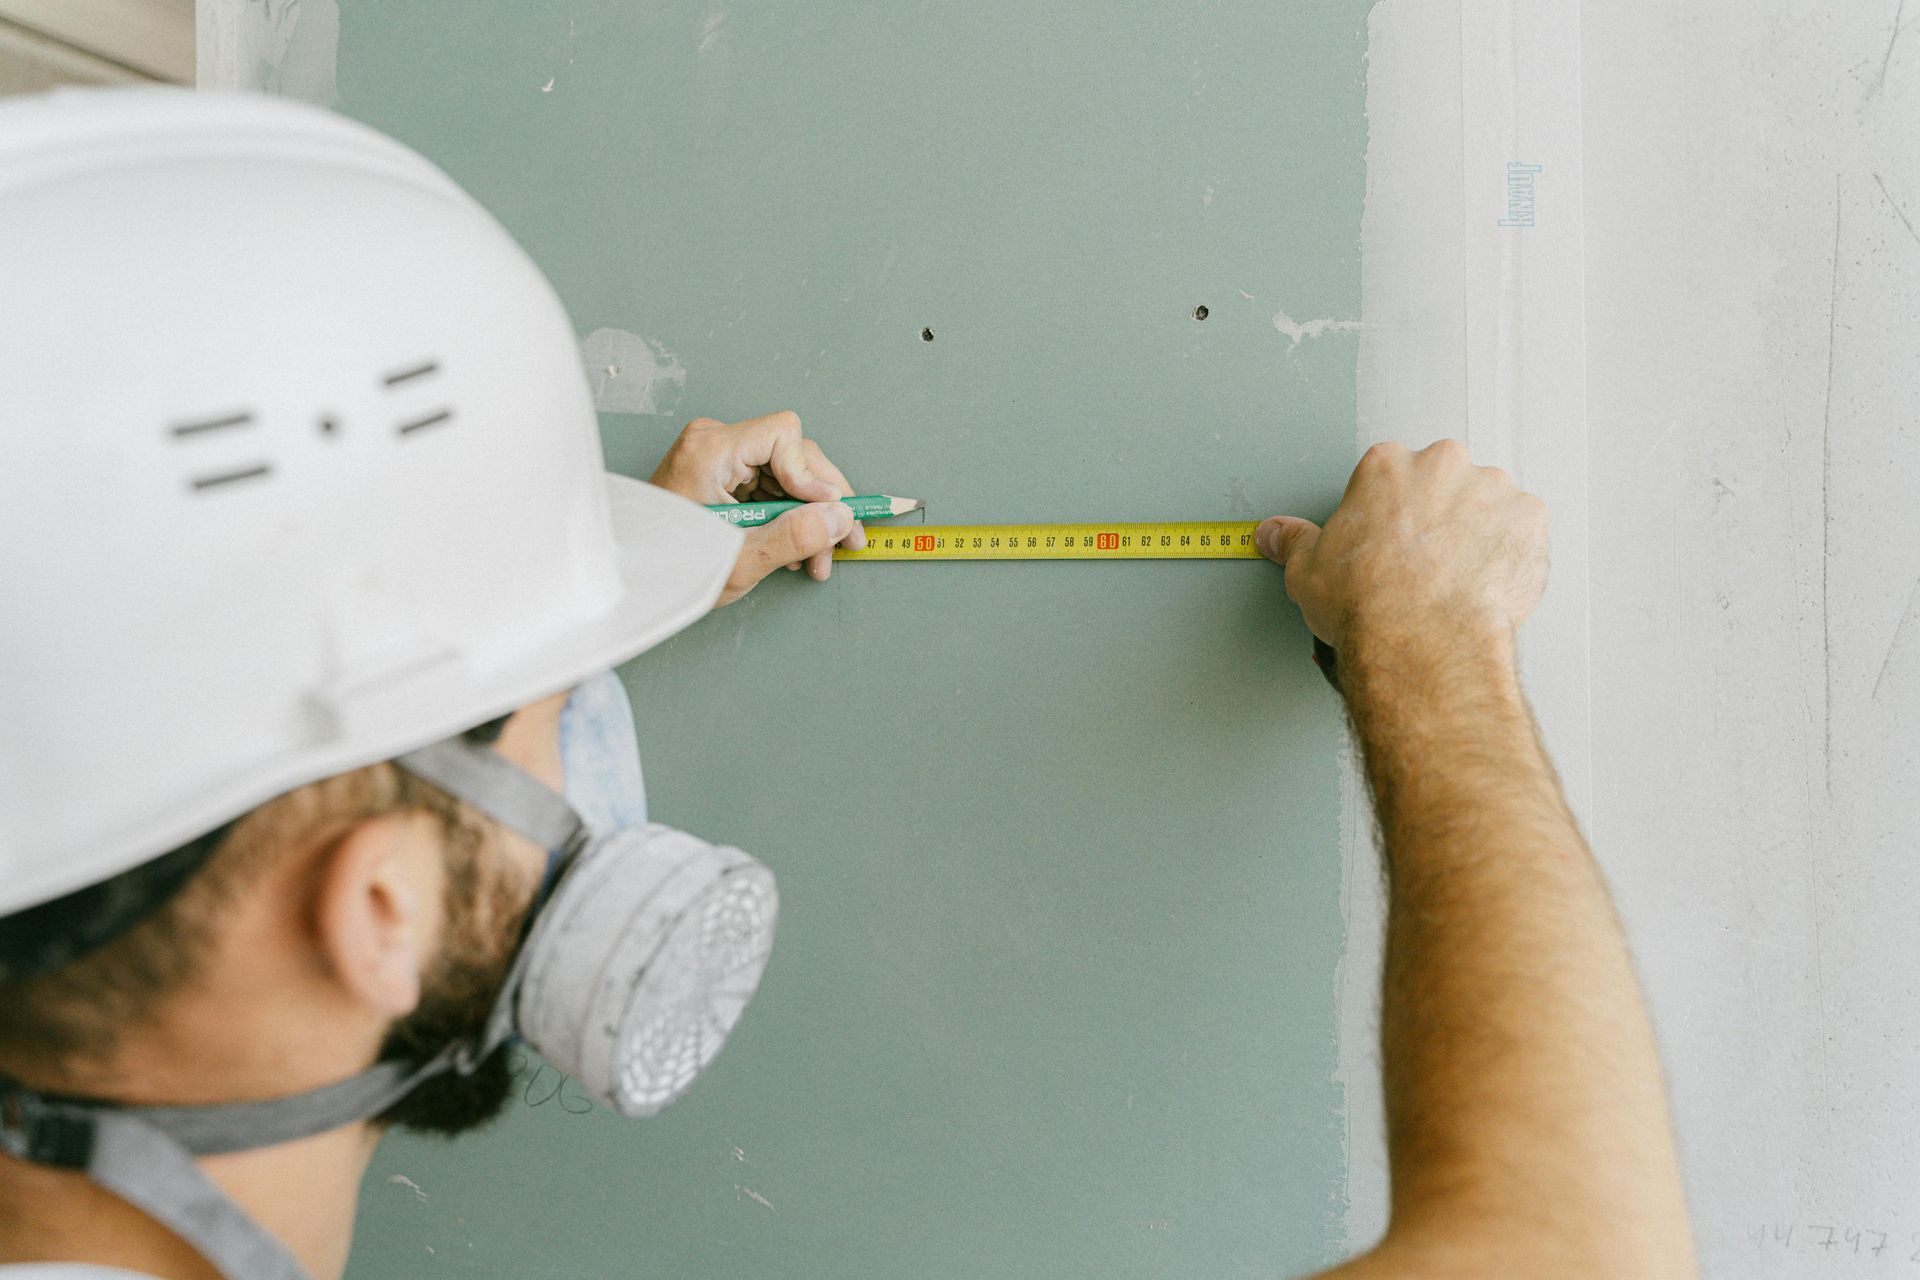
Professional Interior Surface Prep – Our Step-by-Step Process
At Wayne White Painting, our process is designed to handle every challenge your interior walls may present. Our team follows a proven method to prepare surfaces to accept paint cleanly, safely, and durably.
1. Full Walkthrough and Damage Assessment
We examine every surface in the home to identify potential problems:
- Cracks in plaster or drywall
- Loose tape joints or bubbling seams
- Water damage or staining
- Glossy finishes requiring sanding
- Mold or mildew that needs treatment
- Holes, gouges, and nail or screw marks
We also determine the best primer for the conditions and check for any previous coatings that might cause compatibility issues.
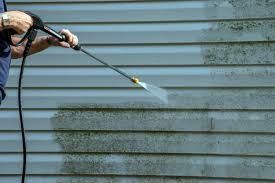
2. Surface Cleaning
Before any repairs or patching, surfaces must be cleaned:
- TSP (trisodium phosphate) or degreasers for kitchen walls
- Anti-mildew solutions in bathrooms or damp spaces
- HEPA vacuums or microfiber cloths for dust and cobwebs
- Removal of stickers, adhesives, or tape residue
Paint cannot adhere properly to a greasy, dusty, or dirty wall.
3. Patching and Repairing Surfaces
Depending on the condition of the wall, we use:
- Lightweight spackle for small dents and holes
- Joint compound and mesh tape for cracks or seams
- Skim coating for uneven or damaged drywall
- Plaster repair methods for older homes with original walls
We take extra care to feather the edges of all patched areas to ensure no flashing or texture changes are visible after painting.
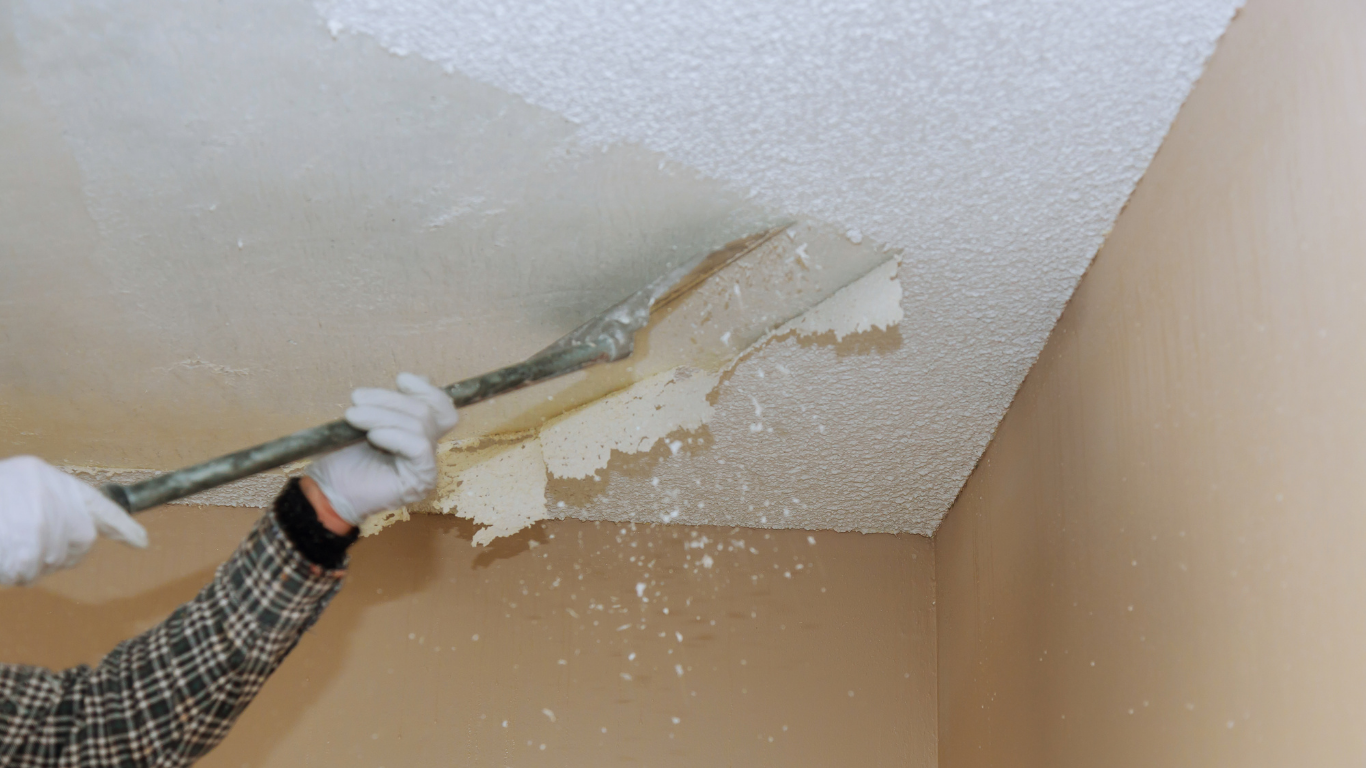
4. Sanding and Surface Smoothing
Once repairs are dry, we sand to:
- Remove ridges or high spots from patching
- De-gloss shiny or oil-based surfaces
- Ensure smooth transitions between repaired and original areas
We use pole sanders, sanding sponges, and vacuum-assisted systems to minimize dust.
5. Caulking and Joint Sealing
Caulk is applied to:
- Gaps around window and door trim
- Cracks between baseboards and walls
- Joints where crown molding meets the ceiling
High-quality paintable caulk improves appearance, air sealing, and moisture resistance.
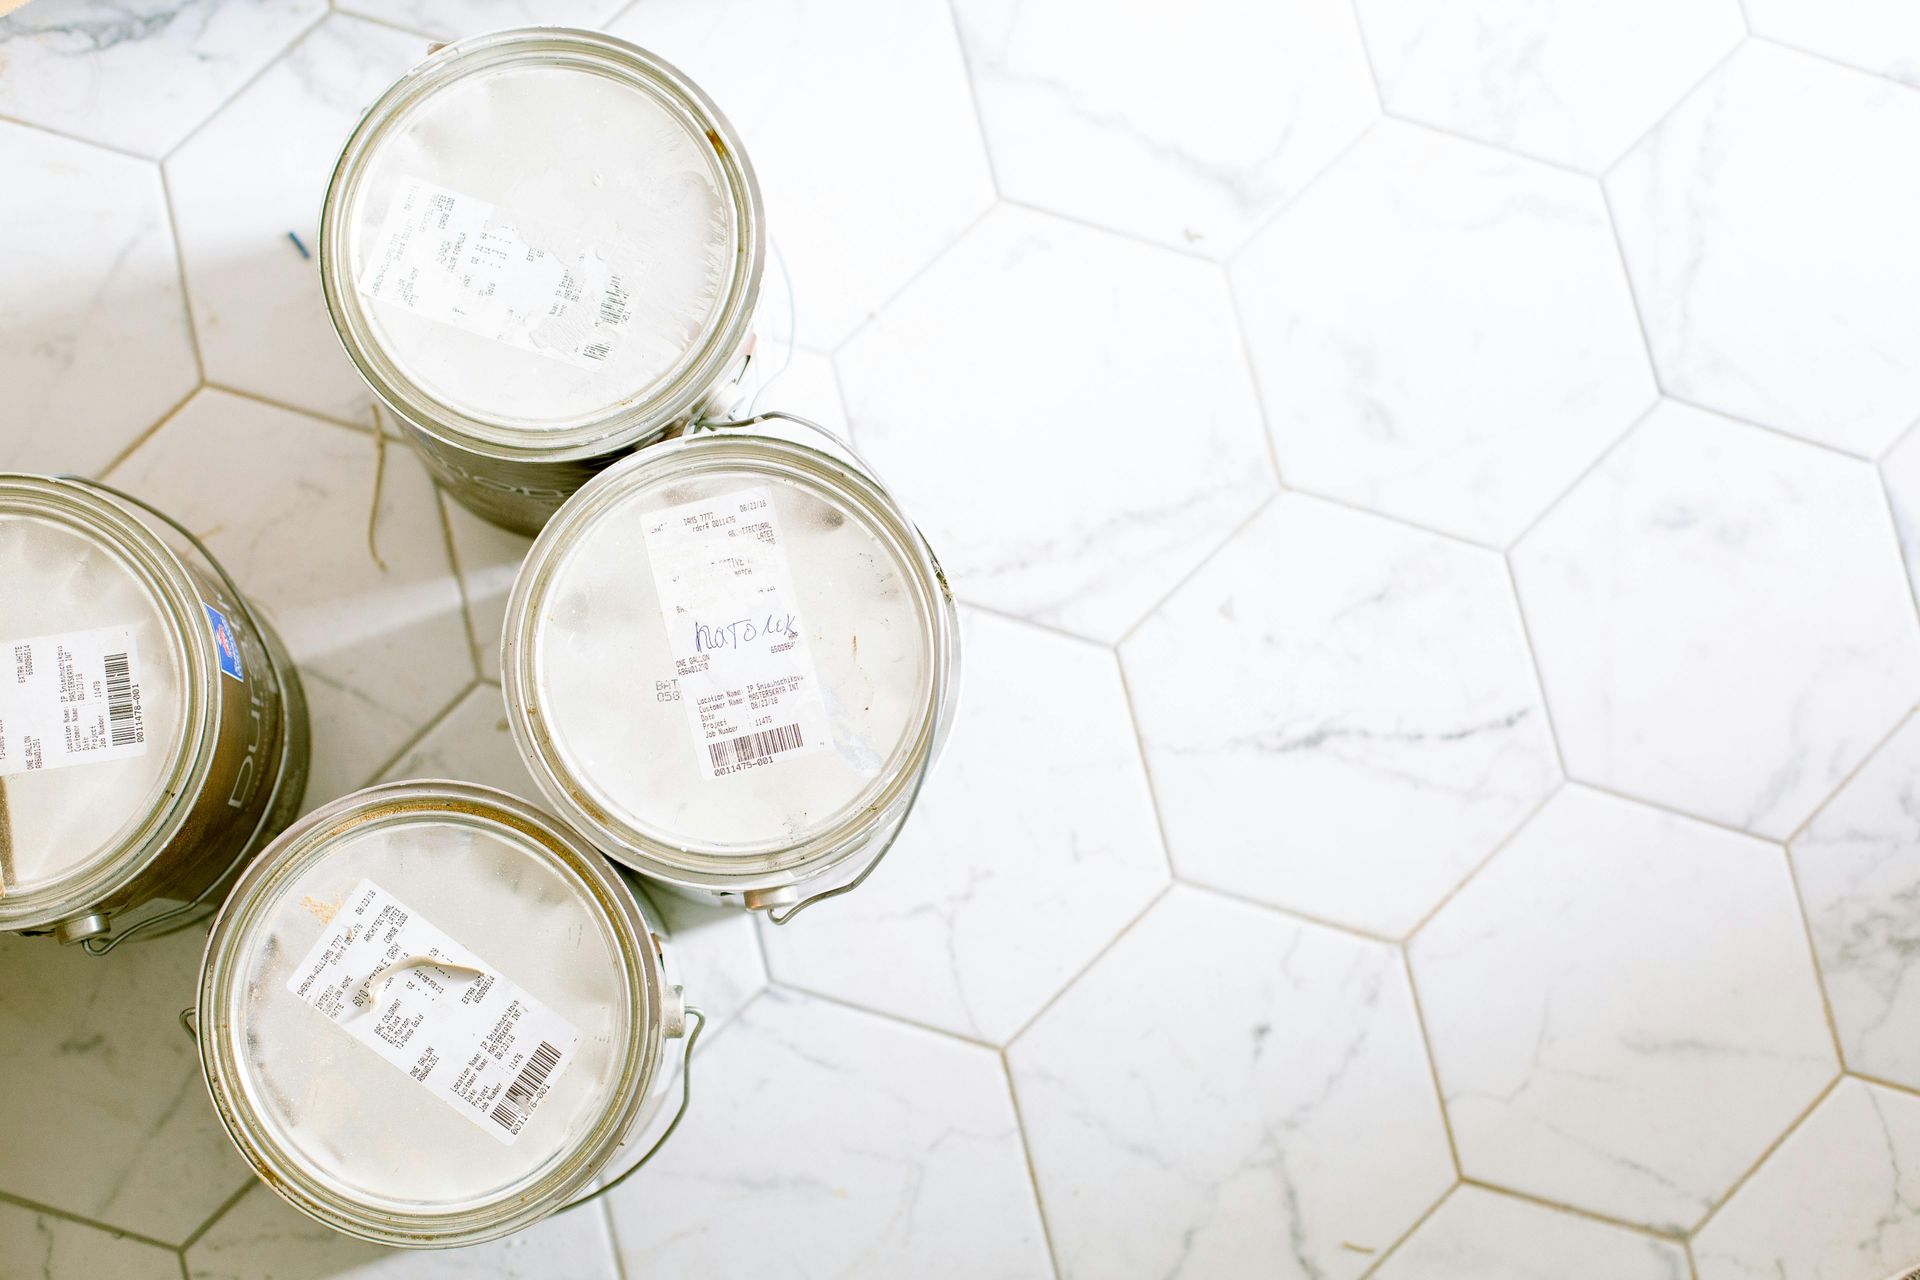
6. Priming
Primer prepares the surface for final coats by:
- Sealing porous or repaired areas
- Blocking stains, odors, or discoloration
- Promoting adhesion of topcoats
We use different primers based on the surface, including stain-blocking primers for water damage, bonding primers for glossy walls, and moisture-resistant primers for humid spaces.
Room-by-Room Surface Prep Considerations
Different rooms require different prep strategies based on how they’re used.
Kitchens
- Degreasing is essential, especially near stovetops and counters
- Glossy cabinet surfaces or trim may need full sanding
- Spot-priming or full priming over patched or previously stained areas
Bathrooms
- Mold-resistant products are required
- High humidity calls for moisture-resistant primers and caulk
- Sanding and priming are necessary near sinks and showers
Bedrooms and Living Rooms
- Focus on patching cracks and smoothing nail holes
- Consistency is key across large walls
- May require full priming if changing wall color dramatically
Hallways and Stairwells
- High-traffic zones show scuffs, dents, and marks
- Durable paints require clean, even surfaces for best performance
Prep by Surface Type – Drywall, Plaster, Wood, and More
Every surface material reacts differently to paint and must be prepped accordingly.
| Surface Type | Common Issues | Required Prep |
|---|---|---|
| Drywall | Nail holes, seams, dust | Patching, sanding, priming |
| Plaster | Cracks, flaking | Skim coating, sealing, sanding |
| Wood Trim | Glossy finish, gaps | Sanding, caulking, stain-blocking primer |
| Paneling | Glossy, grooves | Deglossing, filling, bonding primer |
| Concrete/Masonry | Porosity, moisture | Cleaning, sealing, masonry primer |
Tools and Materials Used in Professional Prep
Our team uses commercial-grade tools to guarantee proper prep:
- Pole sanders and vacuum sanders
- Drywall repair tools
- HEPA vacuums and air purifiers
- Painter’s tape and drop cloths
- Caulk guns and flexible caulk
- Oil-based, latex, or shellac primers depending on the surface
- Mold/mildew cleaners and surface degreasers
Proper tools ensure efficiency, precision, and jobsite cleanliness.
Real-World Examples – Prep Work That Made the Difference
Elizabeth City Historic Home Restoration
This early 20th-century home had years of mismatched paint layers and cracked plaster. We performed a full skim coat, repaired window casings, removed wallpaper, and used high-adhesion primers. The end result was a modern finish that preserved the home’s historic character.
Camden Ranch Refresh
Client wanted to repaint living areas that had been smoked in. We washed all walls with odor neutralizers, sealed stains with oil-based primer, and sanded ceiling patches. The final coats were odor-free and vibrant.
Bathroom Renovation in South Mills
After plumbing issues, the bathroom walls had mildew and peeling latex paint. We cleaned, dried, and repaired damaged drywall, then applied mildew-resistant primer before painting with satin moisture-resistant paint.
Frequently Asked Questions About Interior Surface Prep
Is surface prep always necessary, even for new homes?
Yes. Even new drywall or recently painted walls collect dust, require priming, or need patching.
Can you paint over glossy walls without sanding?
No. Glossy finishes repel paint. We either sand or use bonding primer to ensure adhesion.
What’s the difference between spot priming and full priming?
Spot priming covers only repaired areas; full priming is needed for porous walls, dramatic color changes, or full-sheen uniformity.
Will prep remove odors or smoke stains?
Yes, with proper cleaning and shellac-based primers, we can seal in and eliminate lingering smells or discoloration.
Do I need to move all my furniture before prep starts?
We ask homeowners to move small items, but we’ll handle large furniture and ensure full coverage and protection during the process.
Can I paint over wallpaper?
Not recommended. Removing wallpaper allows for proper repairs and prevents peeling later.
How long does surface prep add to the job?
Prep can take 1–3 days depending on the amount of damage and room size. It’s the most important part of the timeline.
Will surface prep reduce the number of coats needed?
Yes. A properly prepped and primed wall typically requires fewer coats and achieves better coverage.
Is Wayne White Painting insured for interior work?
Yes. We are fully licensed and insured for residential and commercial painting throughout Elizabeth City and surrounding areas.
The True Cost of Skipping Surface Preparation
It’s tempting to cut corners on prep to save time or budget—but skipping it often leads to:
- Bubbling, flaking, or chipping within the first year
- Poor color consistency or sheen irregularity
- Visible imperfections through paint
- Paint not adhering in high-humidity areas
- Mold or mildew returning quickly in damp rooms
Repainting or correcting failed work often costs more than doing it properly the first time.
Why Wayne White Painting Is the Trusted Choice in Elizabeth City
- Over 20 years of experience in interior painting and surface prep
- Knowledge of local housing styles, moisture conditions, and materials
- EPA Lead-Safe Certified for older homes
- Transparent timelines, pricing, and communication
- High attention to detail in every step of the process
We do the job right from the beginning—because we know that prep work isn’t optional, it’s the foundation of great results.
Ready to Transform Your Walls? Let’s Start with Prep
If you're planning to paint your home’s interior, make sure you start with a team that values surface preparation as much as the final color. At Wayne White Painting, we serve homeowners across Elizabeth City, Camden, South Mills, Weeksville, and Hertford with precision prep and stunning finishes.
Recent Posts