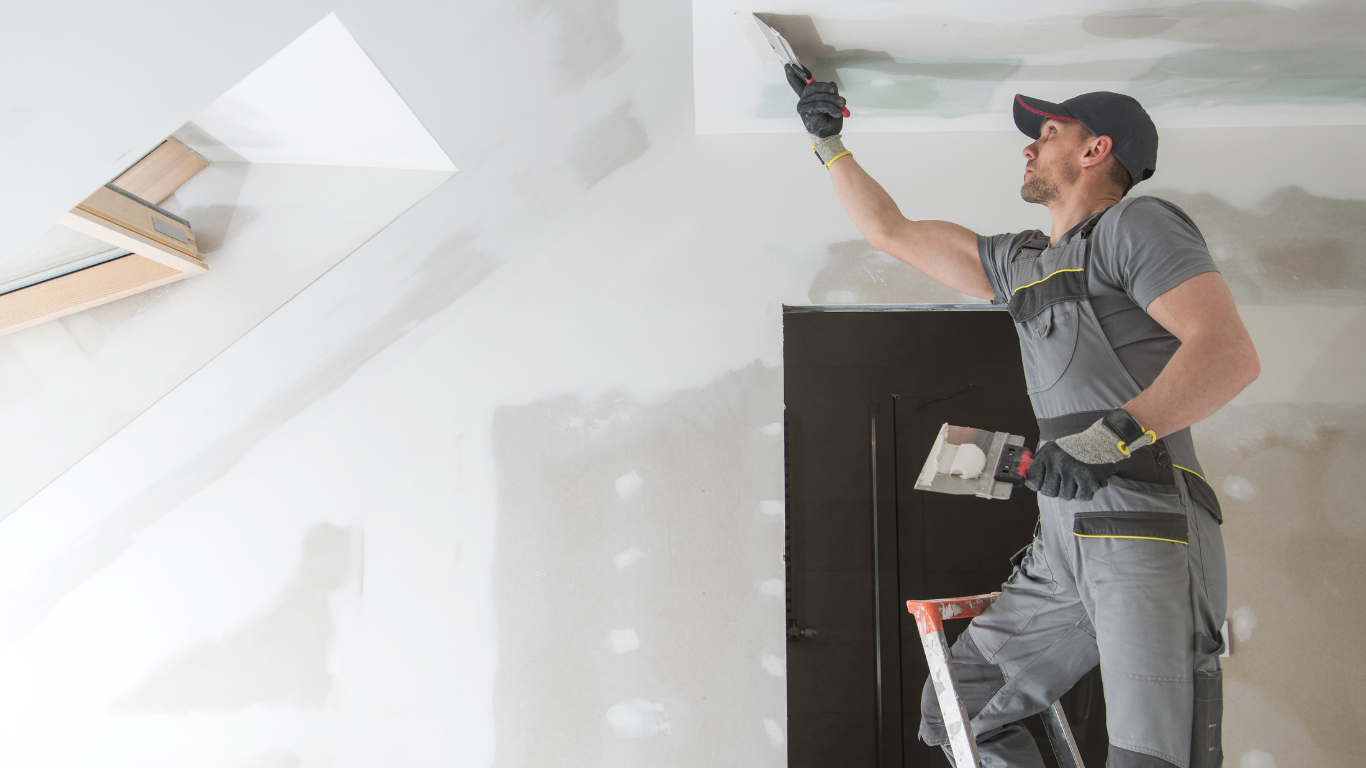
Drywall forms the backbone of your home’s interior walls and ceilings. It creates the smooth surfaces that hold paint, define rooms, and give your home a finished appearance. While drywall is durable, it is not indestructible. Everyday wear, accidental impacts, moisture exposure, and natural settling can all cause damage over time.
In Elizabeth City, NC, humidity and seasonal weather patterns add another layer of stress to interior surfaces. Small cracks or stains may appear harmless at first, but left untreated, they can develop into larger structural or cosmetic problems. Recognizing drywall damage early and repairing it correctly can protect both your home’s appearance and long-term value.
This guide explains the most common causes of drywall damage, how to identify early warning signs, proper repair methods, and when it makes sense to call a professional.
Common Causes of Drywall Damage in Elizabeth City Homes
Drywall damage rarely happens without a reason. Understanding the underlying cause is essential before attempting repairs.
Impact and Everyday Wear
High-traffic areas such as hallways, stairwells, and children’s bedrooms frequently experience dents from furniture, door handles, or accidental bumps.
Humidity and Moisture
Elizabeth City’s humid climate can contribute to drywall expansion and contraction. Bathrooms, kitchens, and laundry rooms are especially vulnerable to moisture-related damage.
Roof or Plumbing Leaks
Even a minor roof leak can lead to water staining and soft spots in ceilings. Plumbing leaks inside walls may remain hidden until visible damage appears.
Foundation Settling
Homes naturally shift slightly over time. This can cause hairline cracks along seams, corners, or door frames.
Improper Installation
Poor taping, insufficient fasteners, or thin joint compound layers may result in seam cracking or visible imperfections over time.
Identifying the source of the problem helps ensure repairs are not just cosmetic.
Early Warning Signs You Should Not Ignore
Drywall damage often begins subtly. Catching these signs early can prevent more expensive repairs.
Visible Hairline Cracks
Small cracks near windows, doors, or ceiling joints may indicate minor settling or seam stress.
Nail Pops
Small circular bumps under the paint may signal that drywall fasteners have loosened.
Discoloration or Water Stains
Yellow or brown stains on ceilings or walls typically indicate moisture intrusion.
Soft or Spongy Areas
If drywall feels soft to the touch, moisture may have weakened the panel.
Peeling or Bubbling Paint
Paint failure can sometimes be the first visible sign of moisture beneath the surface.
Addressing these issues promptly helps prevent escalation.
The Dangers of Ignoring Moisture Damage
Moisture damage is one of the most serious drywall concerns. When drywall absorbs water, it loses structural strength. Prolonged exposure can lead to:
- Mold growth
- Sagging ceilings
- Crumbling texture
- Wood framing damage
- Unpleasant odors
In humid climates like northeastern North Carolina, moisture problems can develop quickly. Repairing drywall without correcting the water source will only provide temporary relief.
If water damage is suspected, the first step is identifying and repairing the leak before replacing drywall.
Repairing Small Holes and Minor Dents
Small holes from nails, screws, or anchors are common and generally easy to repair.
The typical process includes:
- Removing loose debris
- Applying lightweight spackle or joint compound
- Allowing it to dry fully
- Sanding smooth
- Applying primer
- Repainting
Feathering the compound outward helps blend the repair into the surrounding surface. Proper sanding ensures the patched area is invisible once painted.
Fixing Nail Pops Properly
Nail pops occur when framing lumber shifts or expands, pushing fasteners outward.
Repair involves:
- Removing or resetting the popped nail
- Installing a drywall screw nearby to secure the panel
- Covering with joint compound
- Sanding smooth
- Priming and painting
Simply hammering the nail back in often results in recurrence.
Addressing Drywall Cracks
Not all cracks are the same. Hairline cracks may only require filling and sanding. Larger cracks may need reinforcement.
For small cracks:
- Widen slightly to remove loose edges
- Apply joint compound
- Sand smooth after drying
- Prime and repaint
For larger cracks:
- Apply mesh tape for reinforcement
- Cover with multiple thin layers of compound
- Sand between coats
- Prime before painting
Recurring cracks may indicate structural movement that requires professional evaluation.
Repairing Water-Damaged Drywall
Water-damaged drywall often requires partial replacement rather than patching.
Signs replacement is needed include:
- Bulging or sagging
- Persistent staining
- Mold odor
- Flaking texture
The repair process typically involves:
- Cutting out the damaged section
- Inspecting underlying framing
- Installing new drywall panel
- Taping and mudding seams
- Sanding smooth
- Applying stain-blocking primer
- Repainting
Thorough drying of the area before replacement is critical.
Matching Texture After Repairs
Many Elizabeth City homes feature textured ceilings or walls, such as knockdown or orange peel finishes.
After drywall repair, texture must be matched carefully to avoid visible patches. Achieving a consistent finish requires:
- Matching spray patterns
- Adjusting compound thickness
- Blending surrounding texture
Improper texture matching can make even well-repaired areas noticeable.
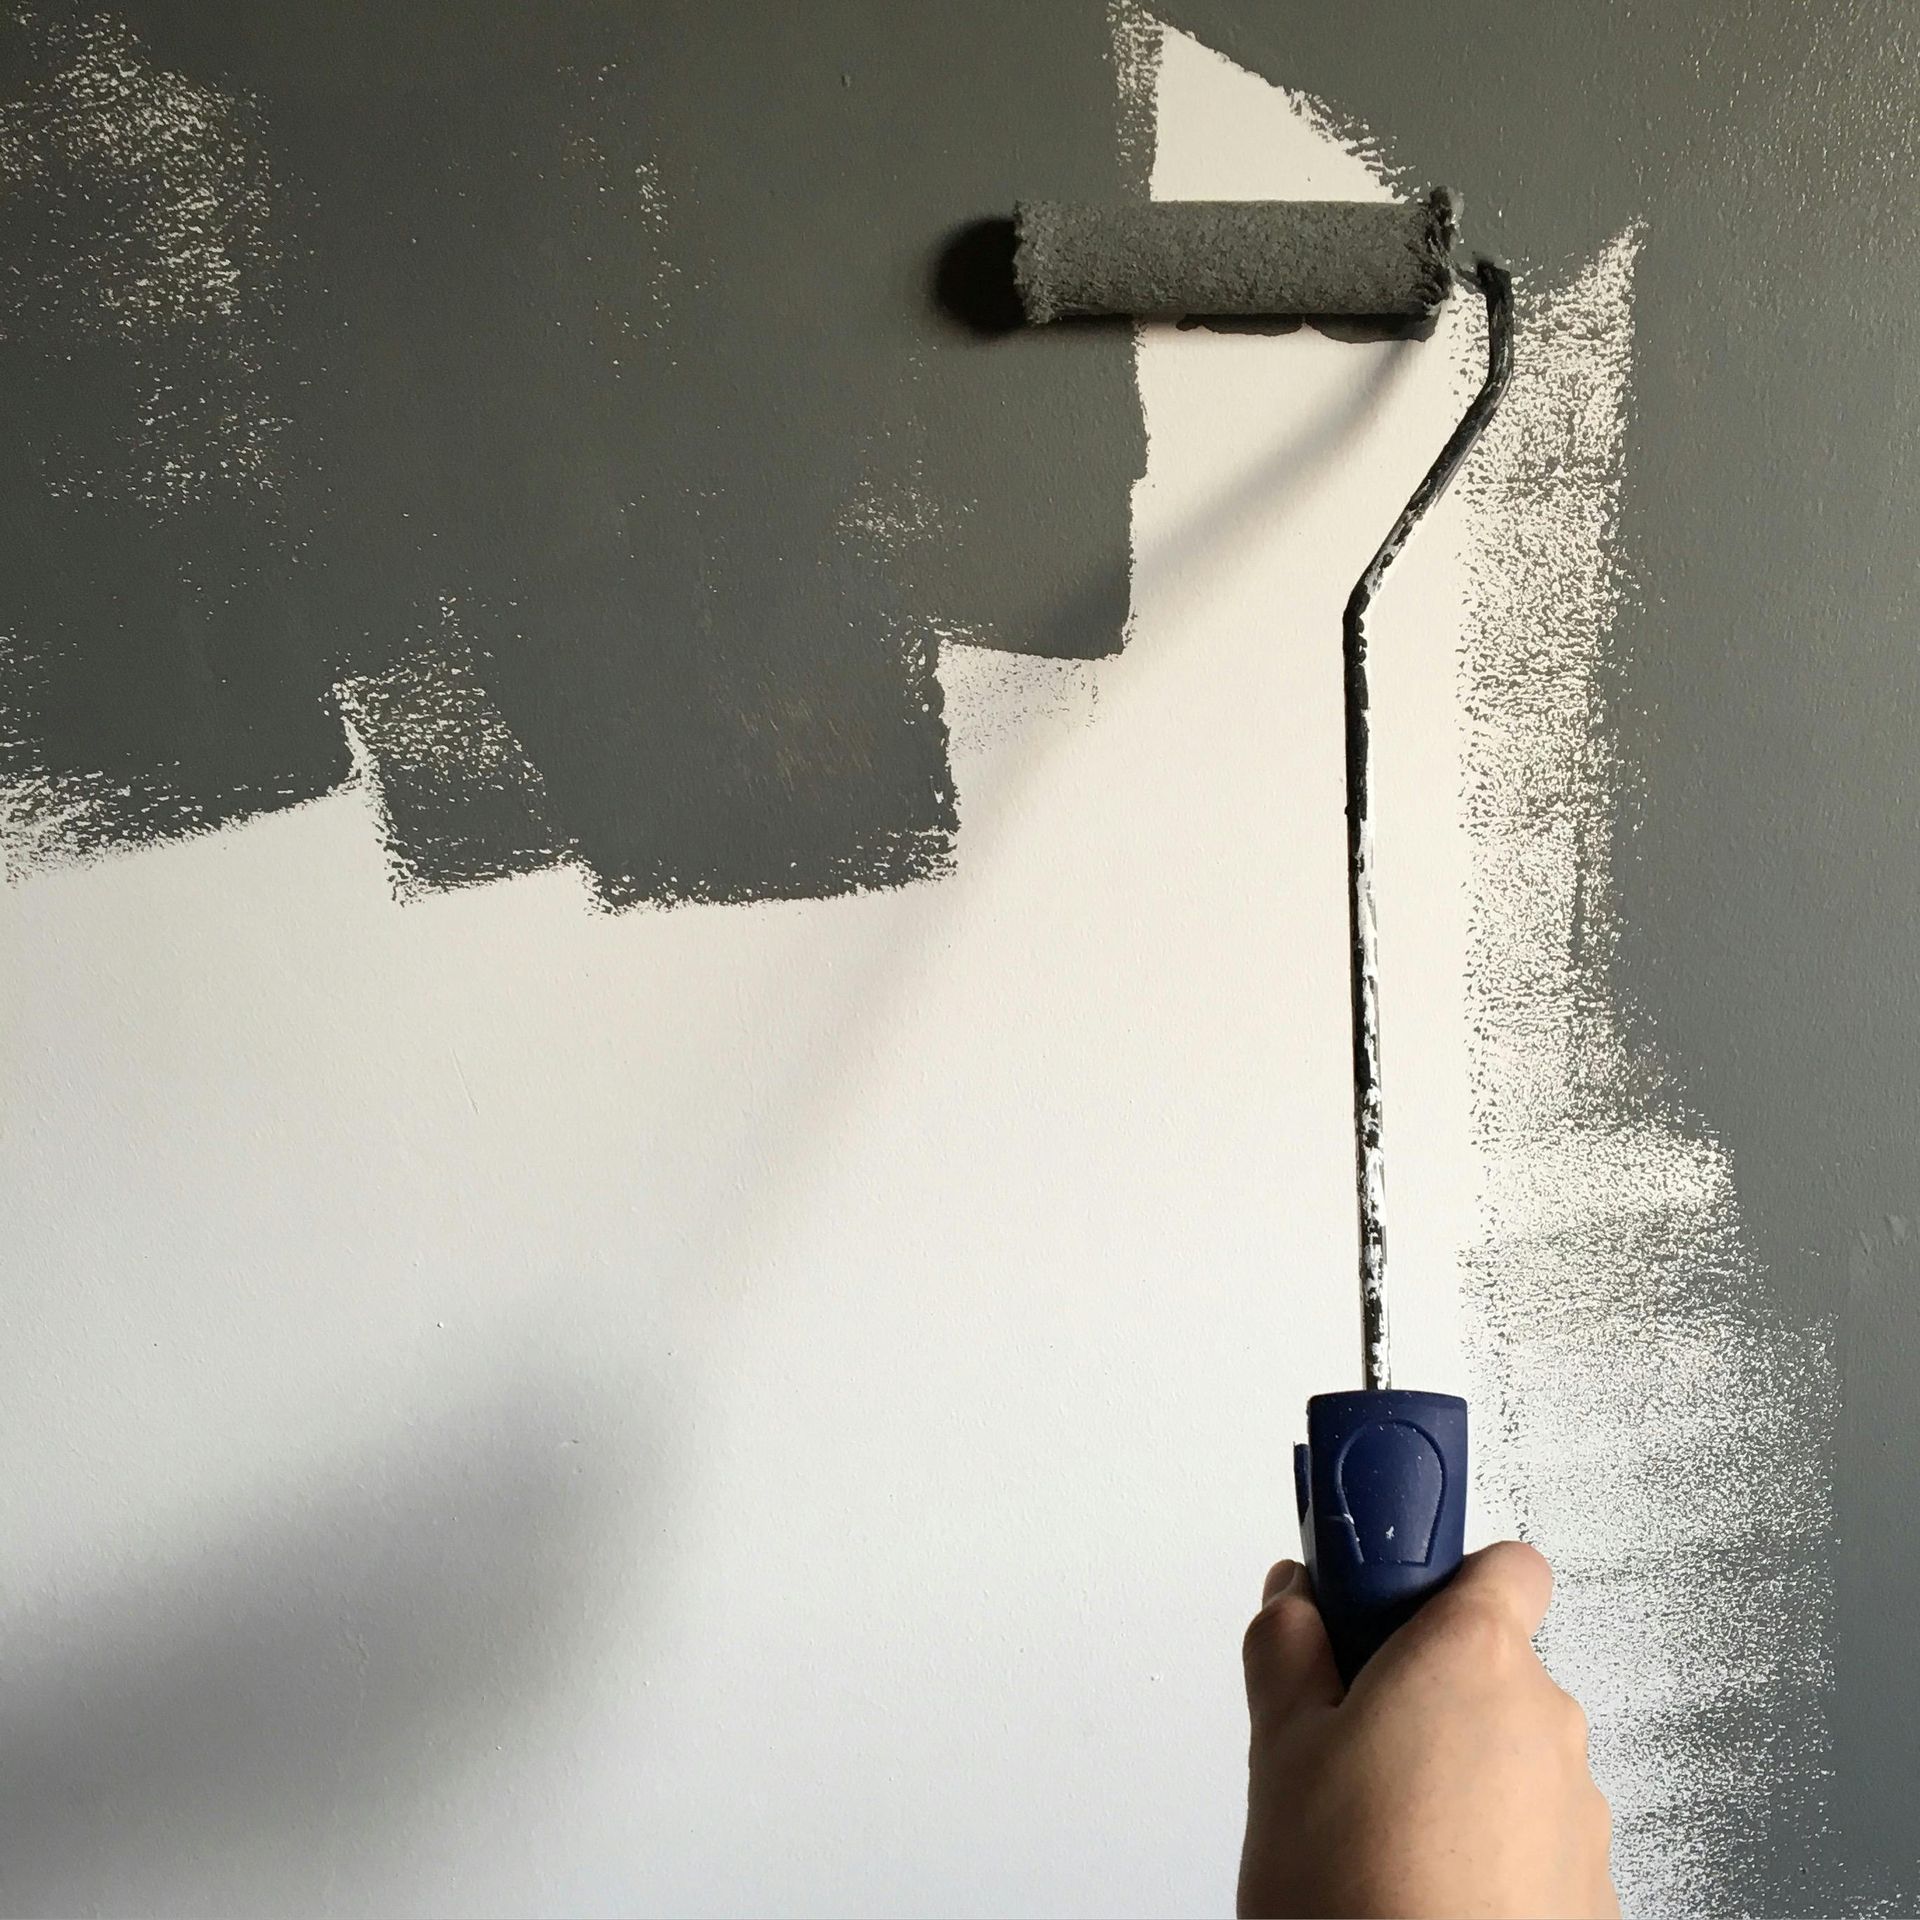
The Importance of Priming After Repair
Primer is essential after any drywall repair. Fresh joint compound is highly porous and absorbs paint unevenly.
Primer:
- Seals the patched area
- Prevents flashing
- Blocks stains
- Ensures uniform color
Skipping primer often results in dull or uneven spots once paint dries.
Preventing Future Drywall Damage
Prevention reduces long-term repair costs.
Practical steps include:
- Maintaining proper indoor humidity levels
- Using bathroom exhaust fans
- Inspecting roofing and plumbing regularly
- Installing door stops
- Addressing leaks immediately
Managing moisture is especially important in Elizabeth City homes due to the local climate.
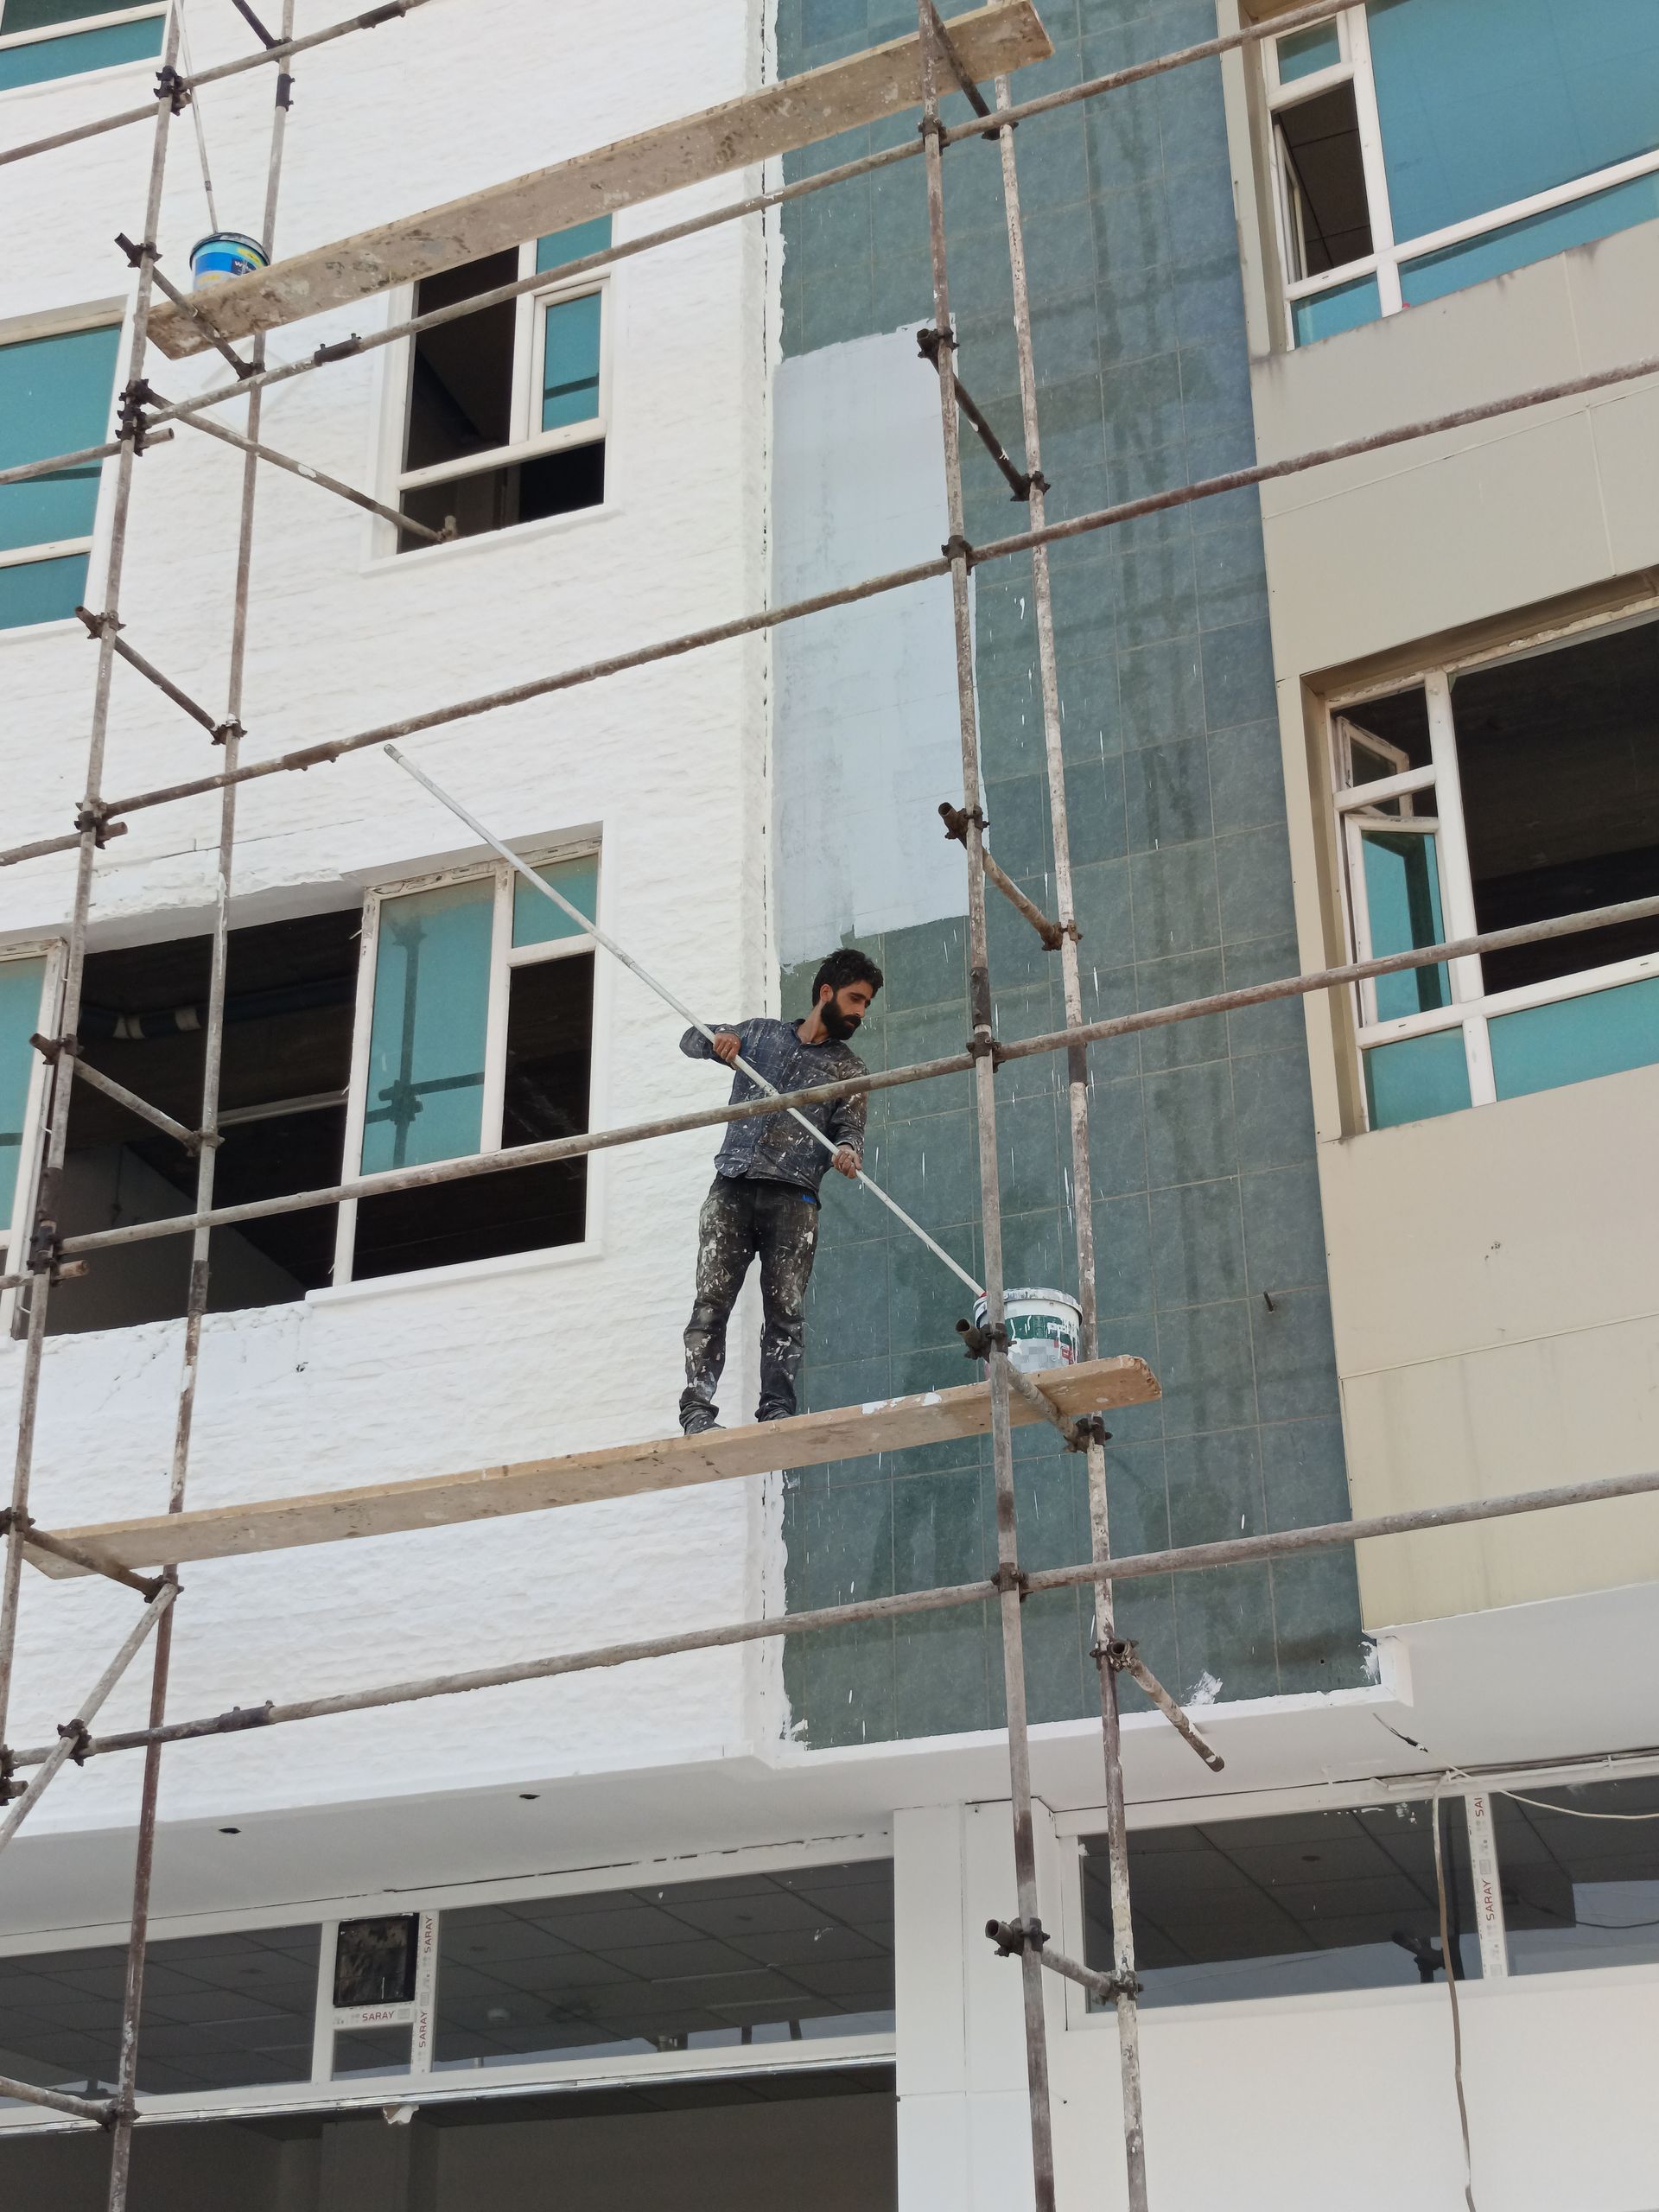
When to Hire a Professional
While minor repairs can be handled by homeowners, professional assistance is recommended when:
- Damage covers large areas
- Ceiling sections sag
- Mold is present
- Texture matching is required
- Cracks continue to return
Professionals have the tools and experience to create seamless repairs and ensure long-term stability.
Why Timely Drywall Repair Matters
Small drywall issues rarely stay small. Ignoring cracks or water stains can lead to larger repairs that involve structural framing or mold remediation.
Addressing drywall damage promptly:
- Preserves interior appearance
- Protects structural components
- Prevents mold growth
- Maintains home value
In a humid environment like Elizabeth City, proactive maintenance makes a noticeable difference.
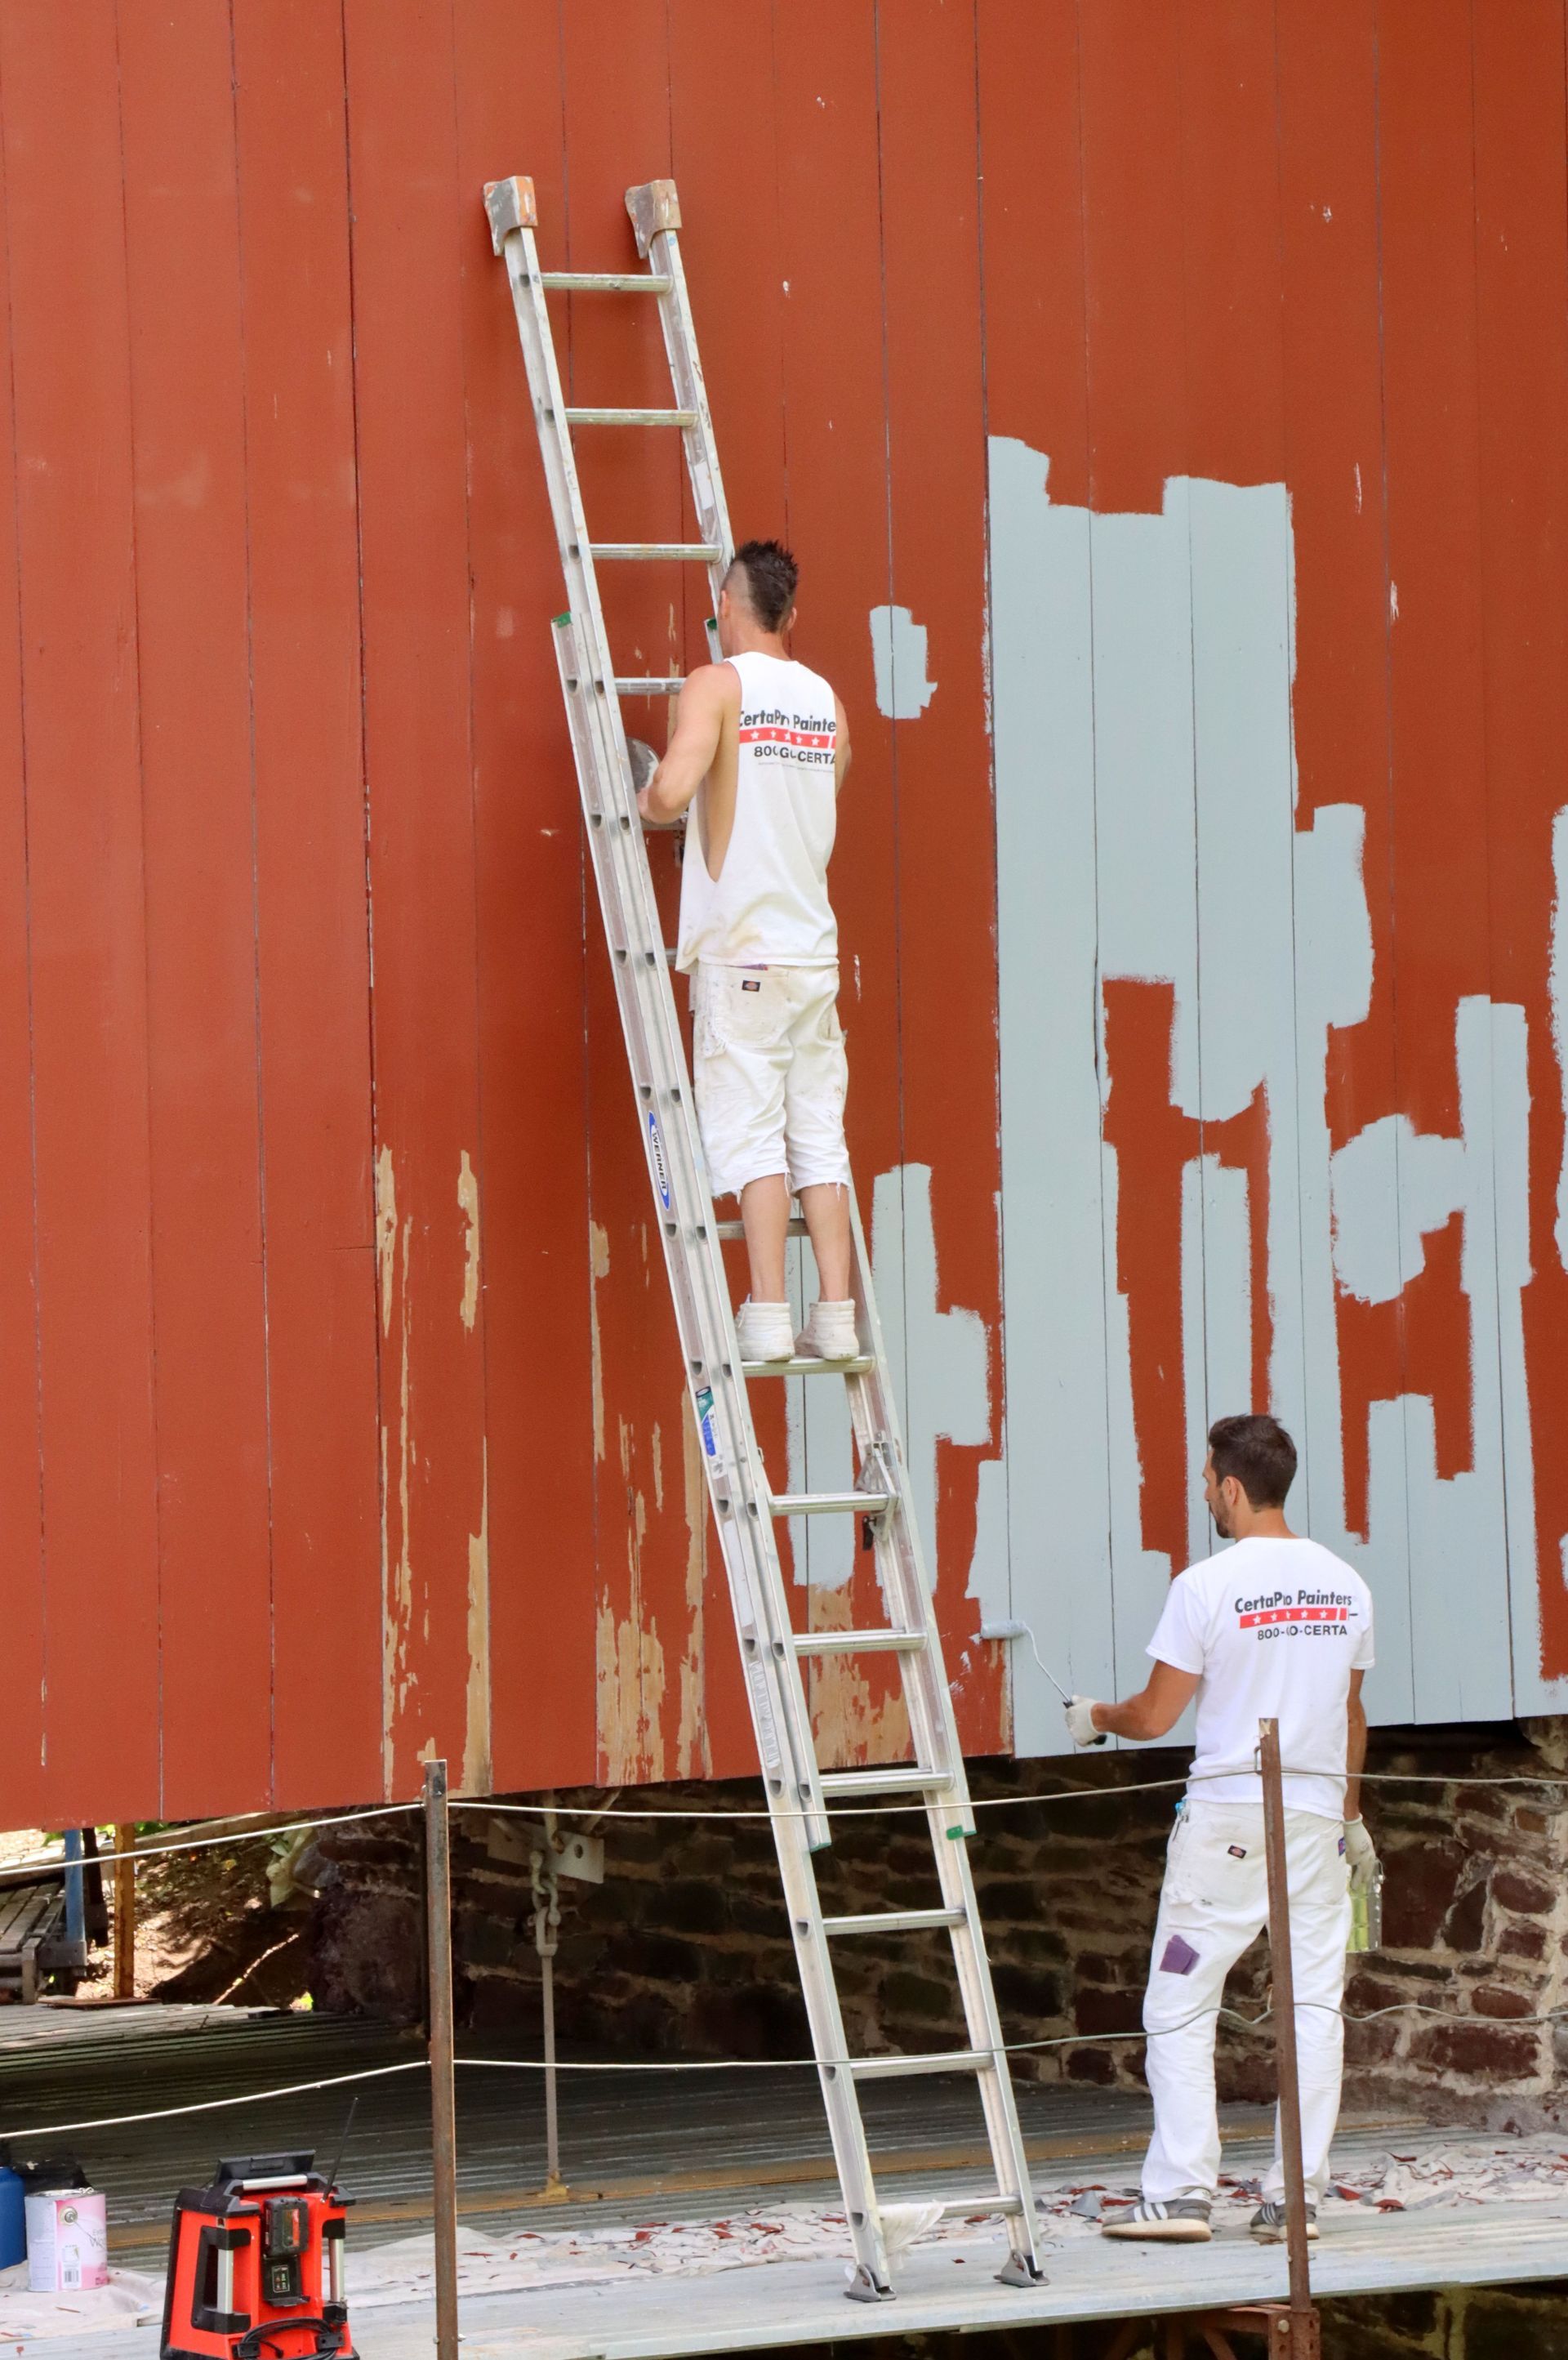
Professional Drywall Repair in Elizabeth City
Wayne White Painting provides drywall repair services throughout Elizabeth City and surrounding communities. From minor patchwork to full wall restoration, proper repair techniques ensure smooth surfaces ready for painting.
Whether your drywall damage stems from moisture, settling, or everyday wear, early detection and professional repair help keep your home looking its best for years to come.