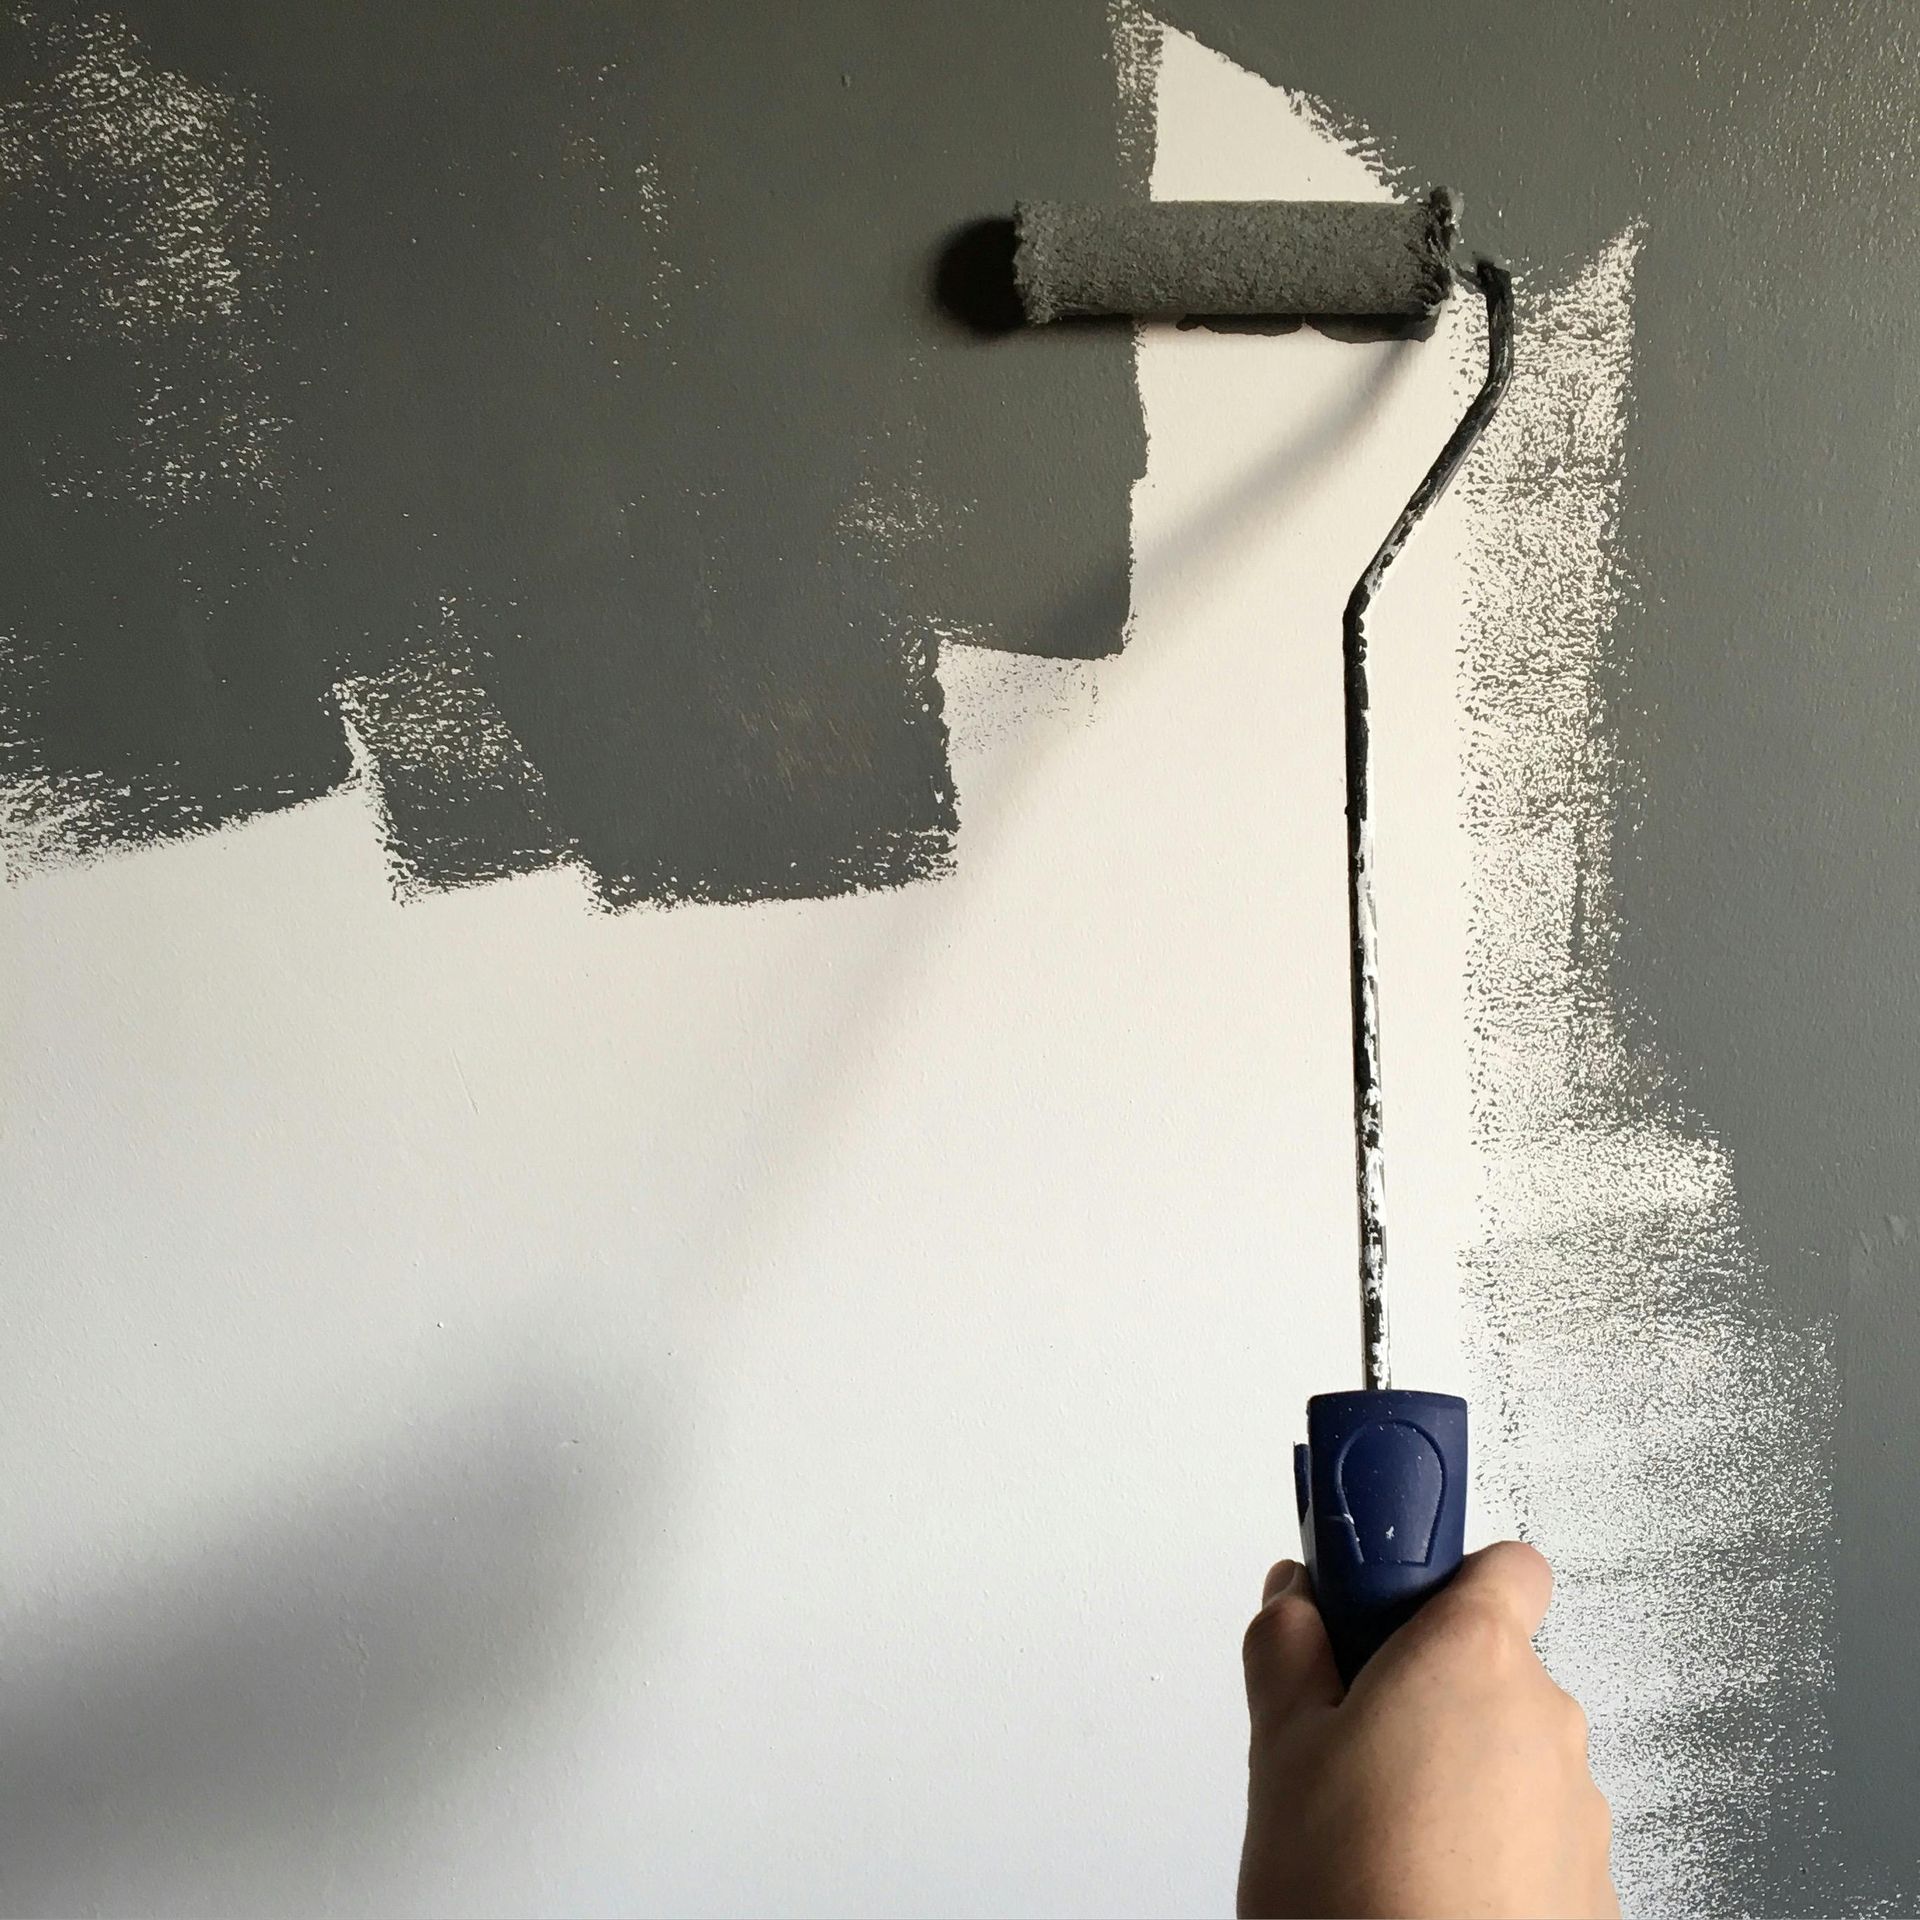
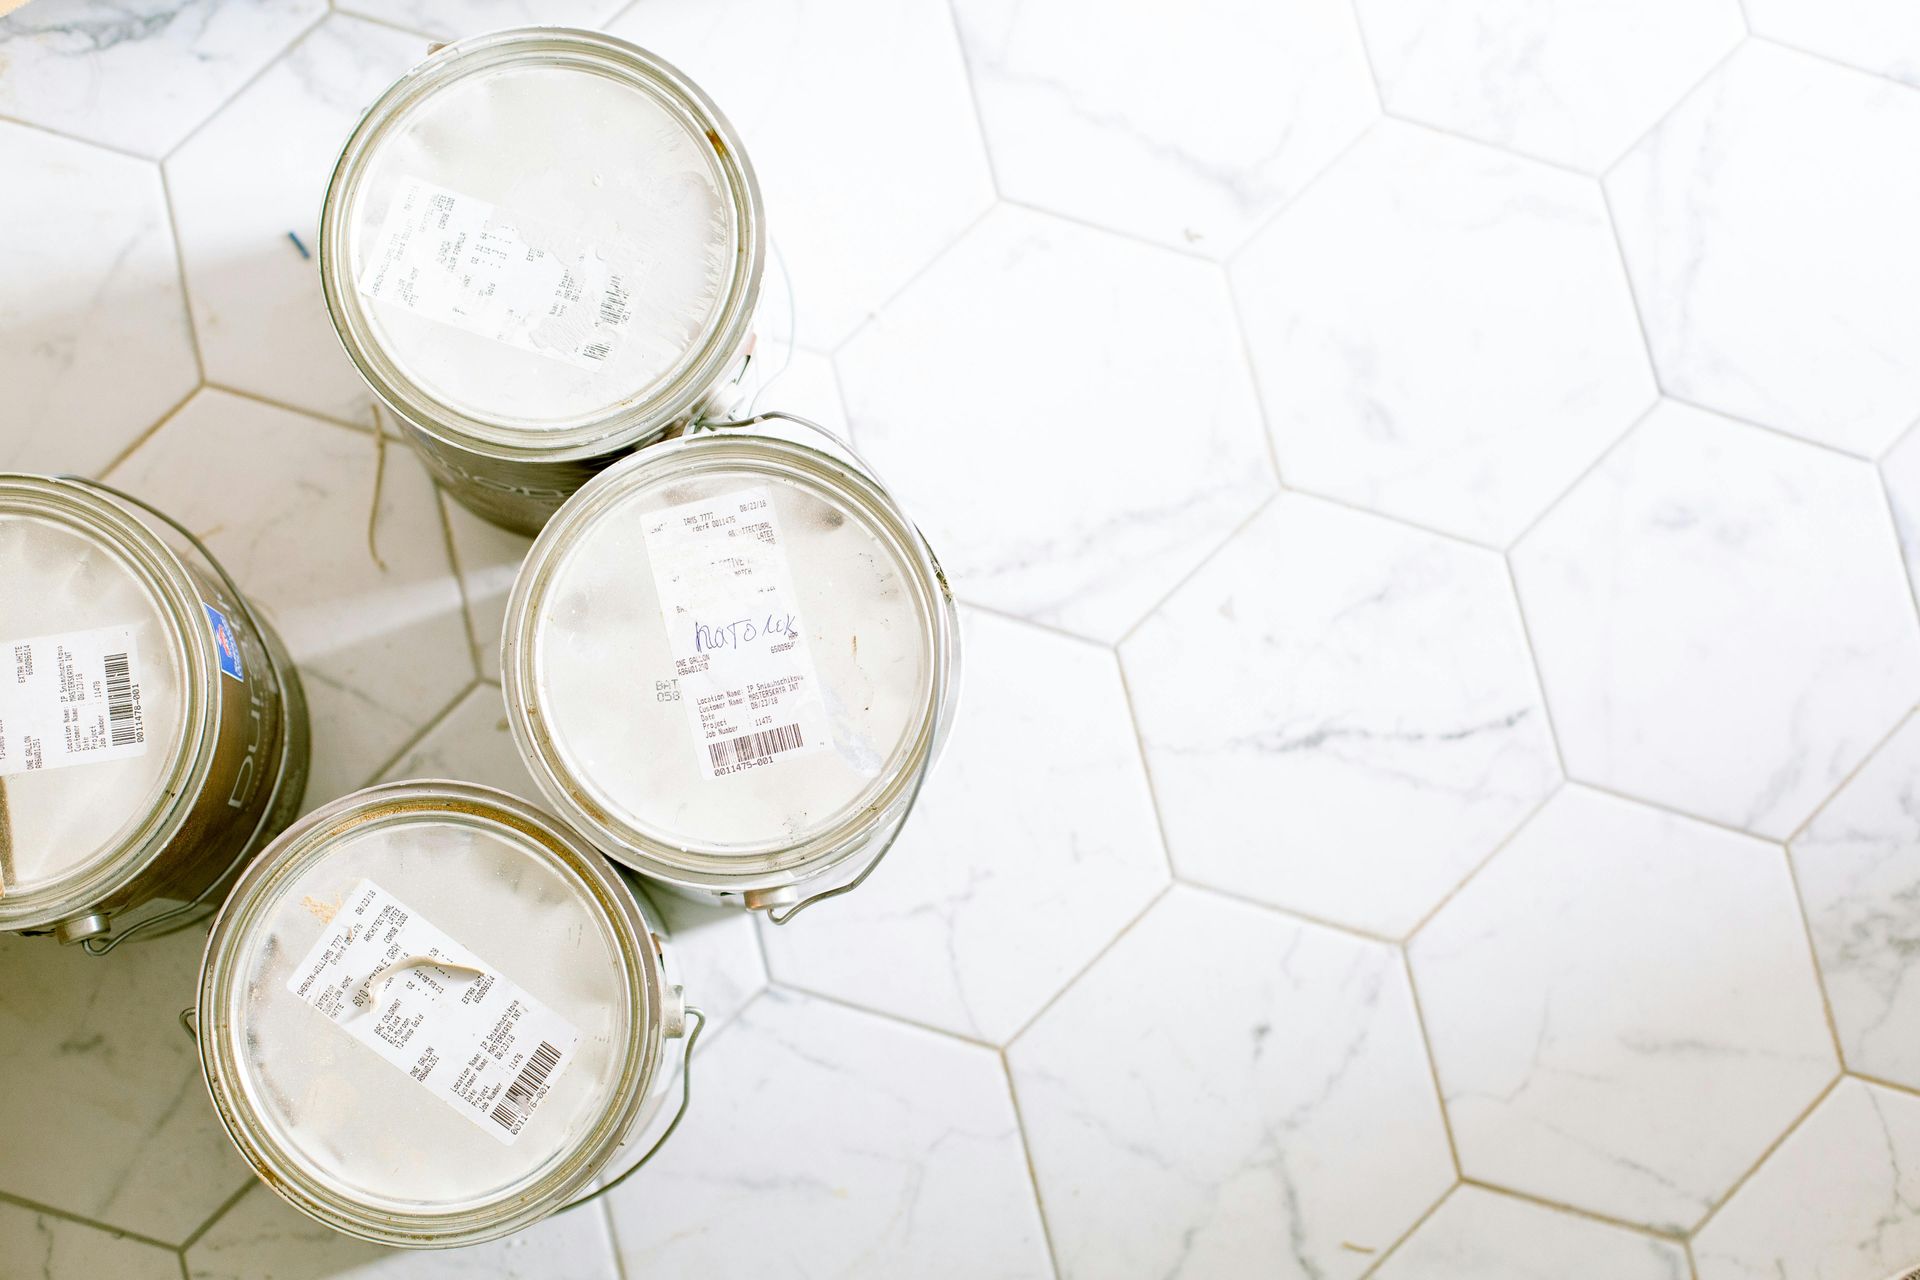
A successful interior painting project does not begin with a brush or roller. It begins with preparation. Proper interior painting preparation is the difference between a smooth, long-lasting finish and one that peels, flashes, or shows imperfections within months.
In Elizabeth City, NC, homes experience humidity fluctuations, seasonal changes, and everyday wear that can impact wall surfaces. Without thorough preparation, even the highest-quality paint will struggle to adhere correctly.
This guide outlines everything homeowners need to know about preparing for an interior paint project, including surface inspection, repairs, cleaning, priming, and protecting your home during the process.
Why Interior Painting Preparation Is Critical
Many homeowners underestimate the importance of prep work. However, preparation often takes as much time as painting itself.
Proper preparation ensures:
- Strong paint adhesion
- Smooth and even finish
- Long-lasting durability
- Uniform color appearance
- Reduced need for frequent repainting
Skipping or rushing prep can result in visible patch marks, peeling, bubbling, or inconsistent sheen.
Step 1 – Evaluate the Condition of Your Walls
Before painting begins, thoroughly inspect all surfaces.
Look for:
- Nail holes and dents
- Cracks along seams or corners
- Peeling or bubbling paint
- Water stains
- Mold or mildew spots
- Glossy finishes that need sanding
Homes in Elizabeth City, particularly older properties, may also have settling cracks or previous patchwork that needs refinement.
Identifying issues early allows for proper repair before paint is applied.
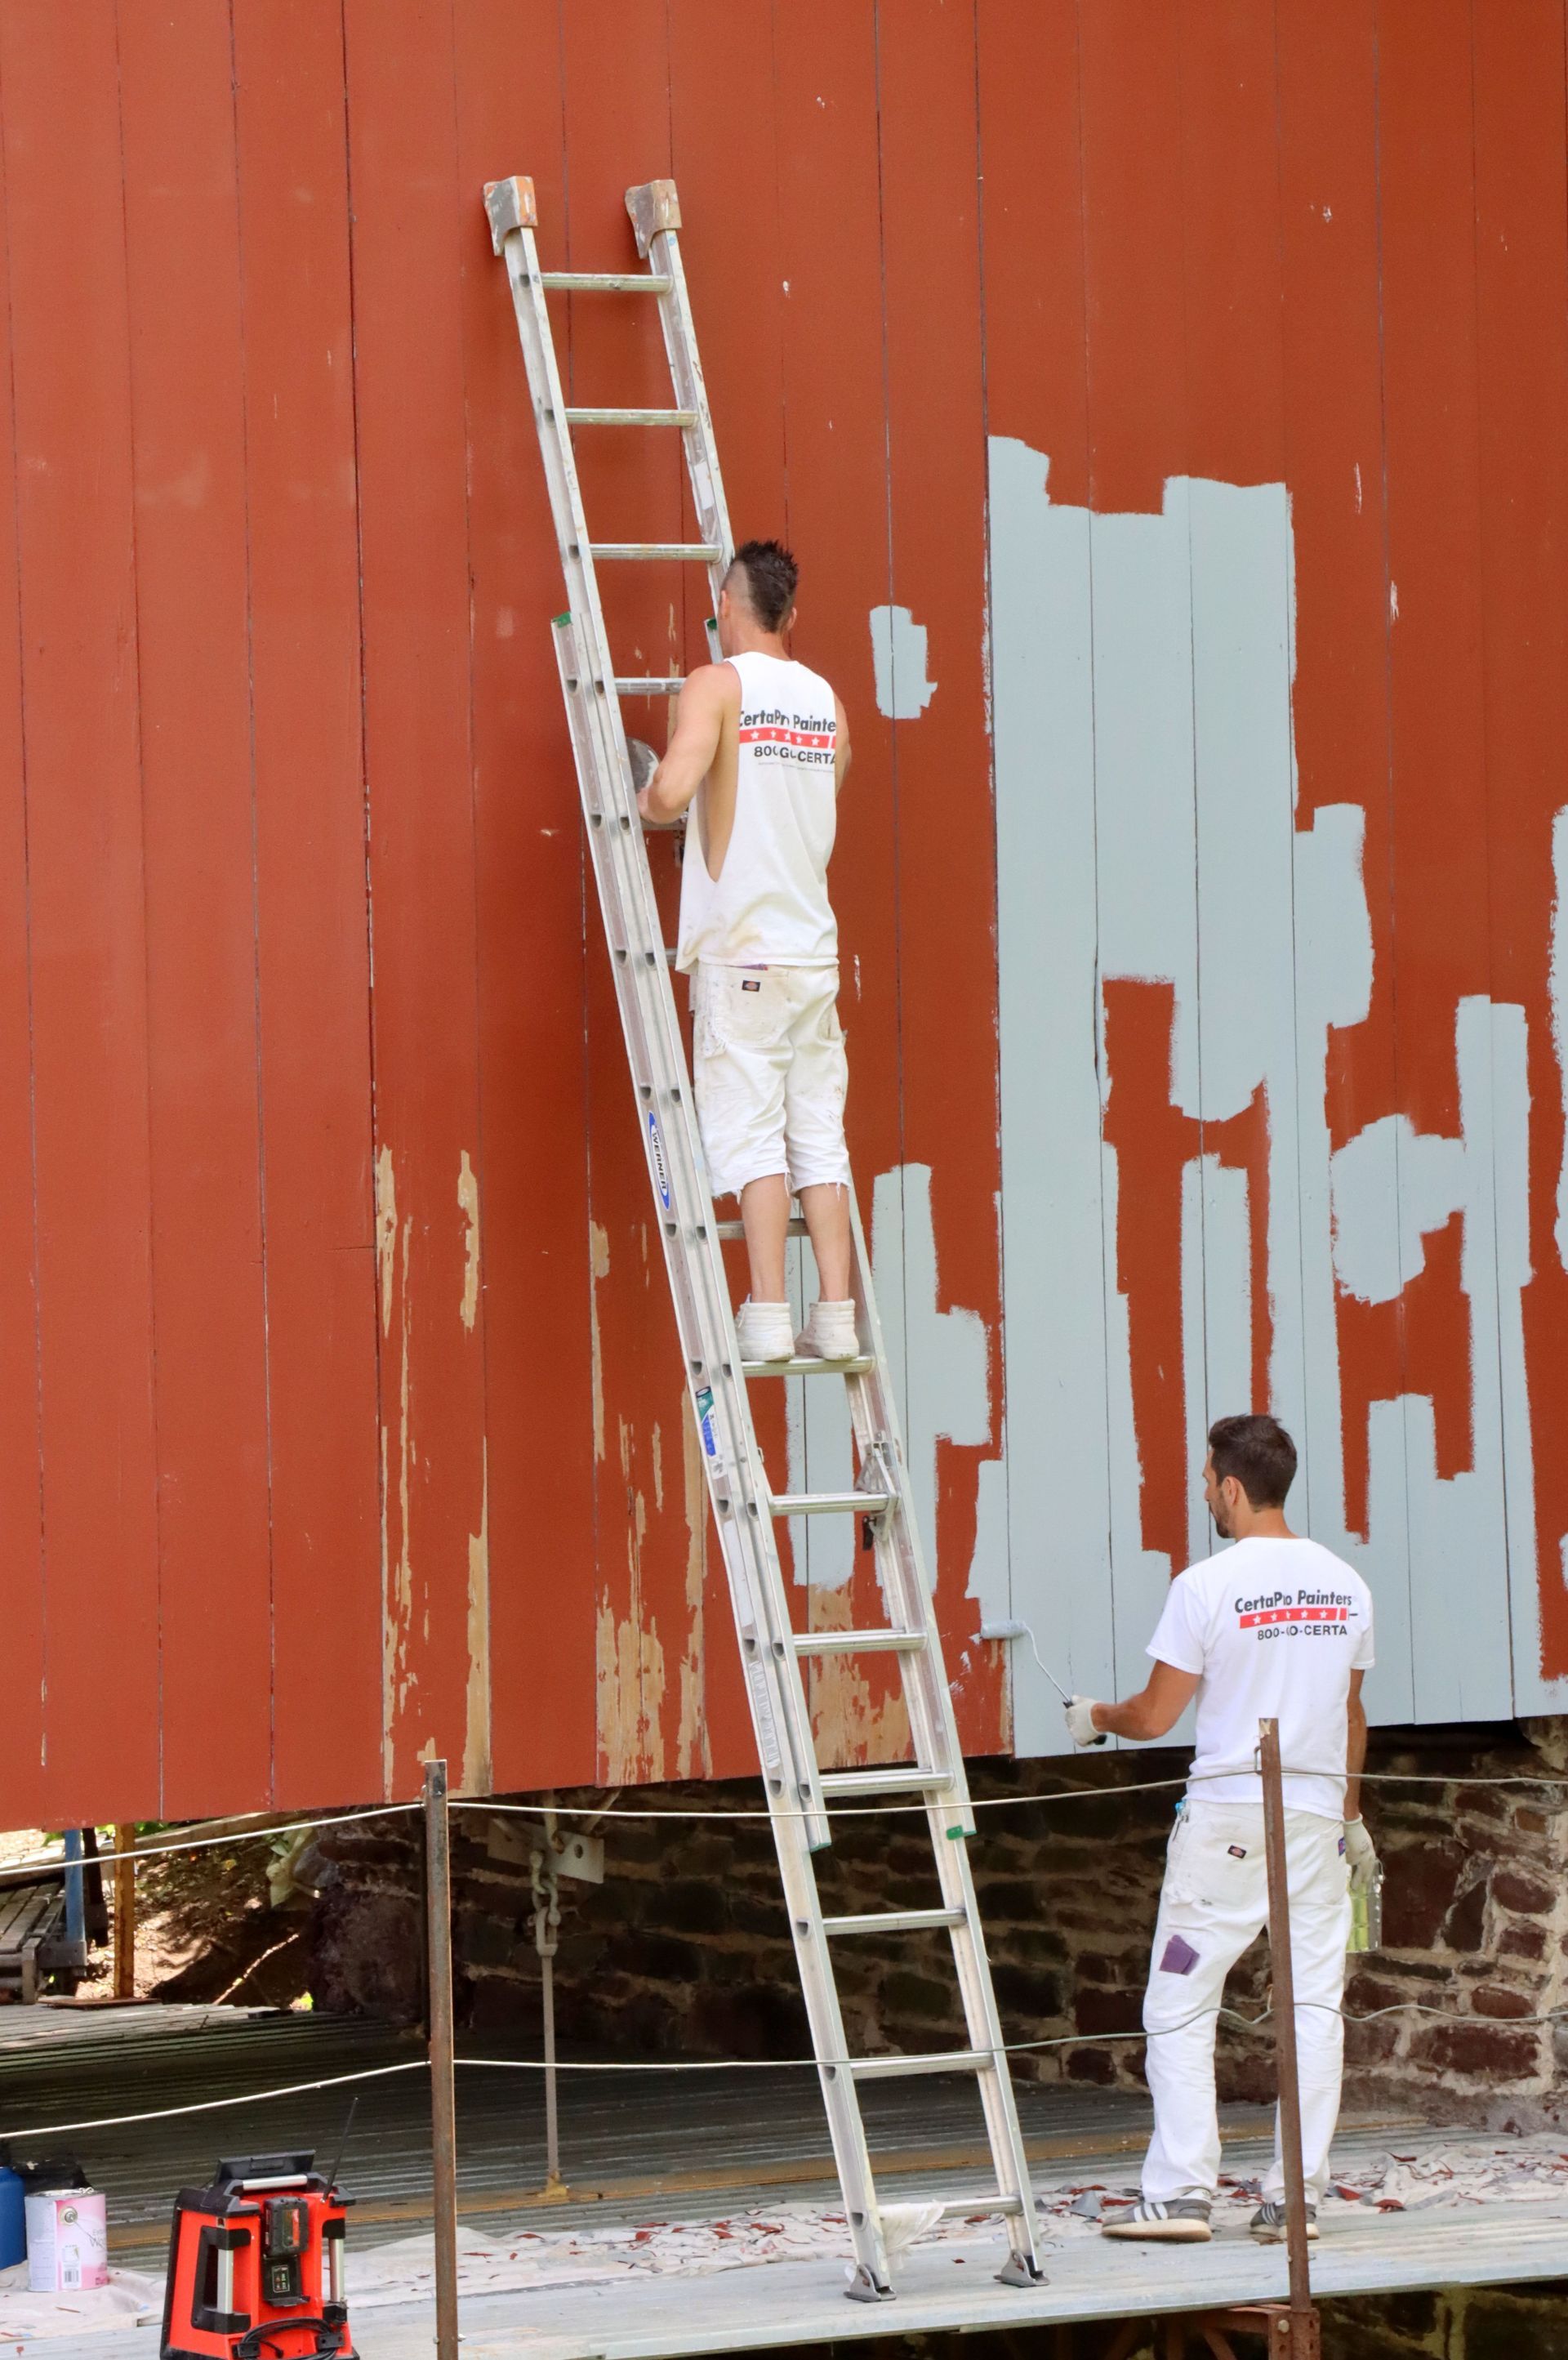
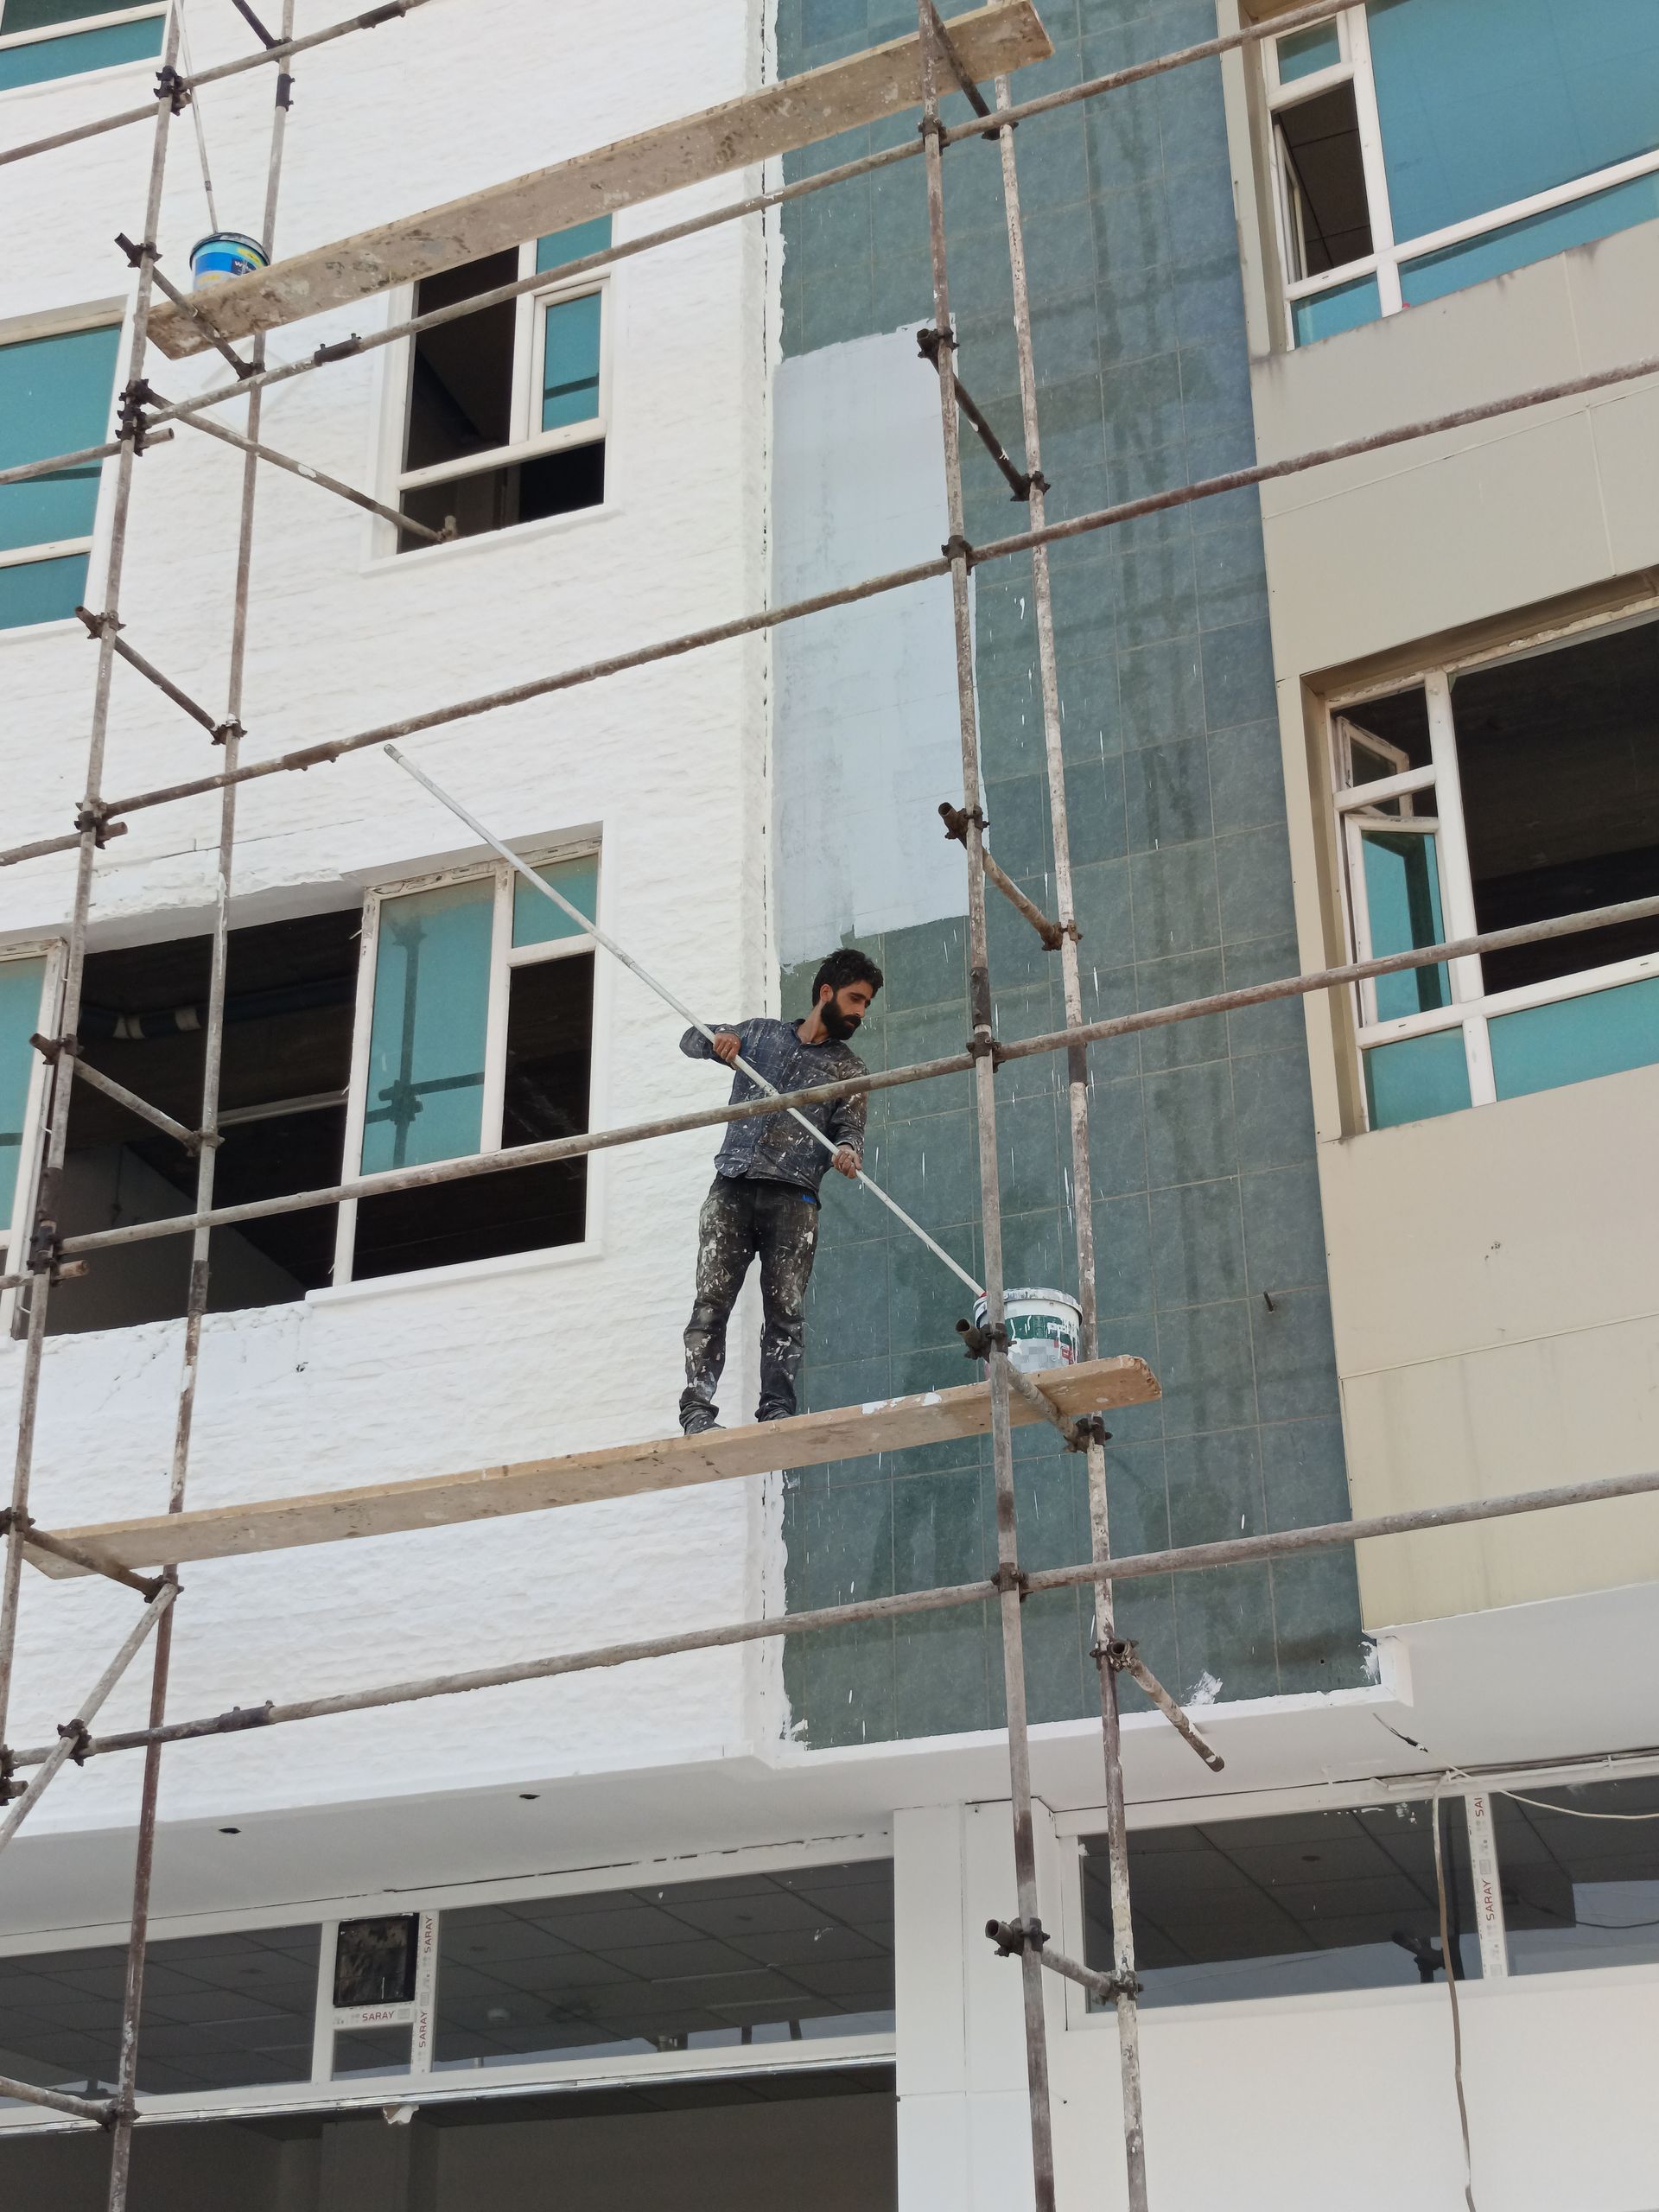
Step 2 – Clear and Protect the Space
Interior painting requires preparation beyond the walls.
Before work begins:
- Remove wall décor and hardware
- Move furniture to the center of the room
- Cover furniture with plastic sheeting
- Protect floors with drop cloths
- Mask baseboards, trim, and fixtures
Proper protection prevents accidental splatter and reduces cleanup time.
Step 3 – Clean the Surfaces Thoroughly
Paint does not adhere well to dust, grease, or residue.
Cleaning typically involves:
- Wiping walls with a damp cloth
- Using mild detergent in kitchens
- Removing grease buildup near cooking areas
- Treating mildew in bathrooms
- Vacuuming baseboards and trim
In humid areas like Elizabeth City, mildew prevention is particularly important.
Allow walls to dry fully before proceeding to repairs.
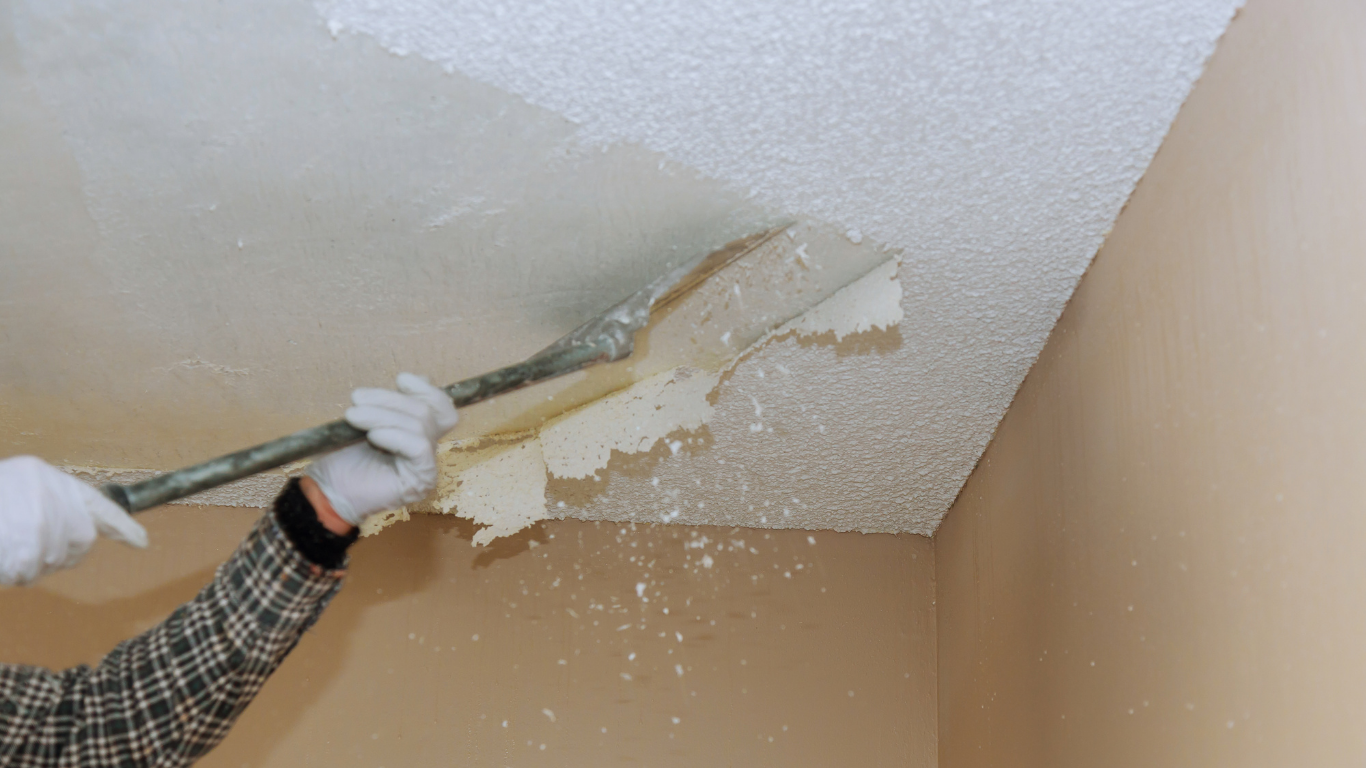
Step 4 – Repair Imperfections
Repairing damaged drywall ensures a flawless final result.
Common repairs include:
Filling Nail Holes
Lightweight spackle fills small imperfections.
Fixing Cracks
Joint compound and mesh tape reinforce larger cracks.
Repairing Dents
Compound is applied, dried, and sanded smooth.
Replacing Damaged Drywall
Water-damaged sections may require panel replacement.
Proper feathering during sanding prevents visible transitions between old and repaired areas.
Step 5 – Sanding for Smoothness and Adhesion
Sanding serves two purposes:
- Smoothing patched areas
- Removing gloss from previously painted surfaces
Glossy surfaces can repel new paint if not properly deglossed.
Light sanding also improves primer bonding and ensures consistent sheen across walls.
Dust removal after sanding is essential before priming.
Step 6 – Apply Primer Where Necessary
Primer is often overlooked but plays a vital role in interior painting.
Primer is especially important when:
- Covering dark colors with lighter shades
- Painting over stains
- Applying paint to new drywall
- Covering repaired areas
- Switching from oil-based to latex paint
Primer seals porous surfaces and promotes even topcoat application.
In high-humidity rooms such as bathrooms, mildew-resistant primer adds extra protection.
Special Considerations for Elizabeth City Homes
Local environmental factors influence preparation needs.
Humidity Control
Ensure indoor humidity levels are moderate during painting.
Older Homes
Historic properties may require additional surface leveling or lead-safe practices.
Waterfront Properties
Higher moisture levels may require extra mildew treatment.
Accounting for these conditions helps extend paint longevity.
Choosing the Right Paint Finish
Preparation and finish selection go hand in hand.
Flat finishes hide imperfections but are less washable.
Eggshell provides subtle sheen and moderate durability.
Satin works well in kitchens and hallways.
Semi-gloss is ideal for trim and moisture-prone areas.
Selecting the appropriate sheen ensures durability aligned with room usage.
Common Preparation Mistakes to Avoid
Even well-intentioned homeowners sometimes make avoidable mistakes.
Common errors include:
- Painting over dirty surfaces
- Skipping primer
- Failing to sand glossy walls
- Ignoring small cracks
- Rushing drying times
- Not protecting floors adequately
Taking time to prepare thoroughly prevents costly redo work.
How Long Does Interior Prep Take?
Preparation time varies depending on:
- Room size
- Wall condition
- Amount of repair needed
- Number of coats required
In many cases, preparation accounts for half of the total project timeline.
Rushing prep may shorten the schedule temporarily but reduces quality.
Frequently Asked Questions
Is primer always necessary?
Not always, but it is highly recommended for repairs, stains, and major color changes.
Can I skip cleaning if walls look clean?
Even invisible dust can reduce adhesion.
Should I sand if the previous paint is flat?
Light sanding improves bonding regardless of sheen.
How long should repairs dry before sanding?
Drying times vary but must be fully complete before sanding.
Can preparation really affect paint lifespan?
Yes. Proper prep significantly extends durability.
The Value of Professional Interior Preparation
While some homeowners choose to handle prep work themselves, professional painters bring experience that ensures efficiency and precision.
Professionals:
- Identify hidden issues
- Use proper materials
- Feather repairs seamlessly
- Control dust during sanding
- Apply primer correctly
Expert preparation leads to a smoother, longer-lasting finish.
A Strong Foundation for Beautiful Results
Interior painting is one of the most noticeable improvements you can make to your home. However, the beauty of the final coat depends entirely on the preparation underneath.
For homeowners in Elizabeth City, where humidity and seasonal changes impact interior surfaces, proper preparation is especially important. From cleaning and patching to sanding and priming, each step contributes to a professional result that stands the test of time.
Wayne White Painting provides comprehensive interior preparation and painting services throughout Elizabeth City and surrounding communities. By focusing on detail and durability, we ensure that your home’s new finish looks smooth, consistent, and long-lasting.